Written by Zakiyah Shani
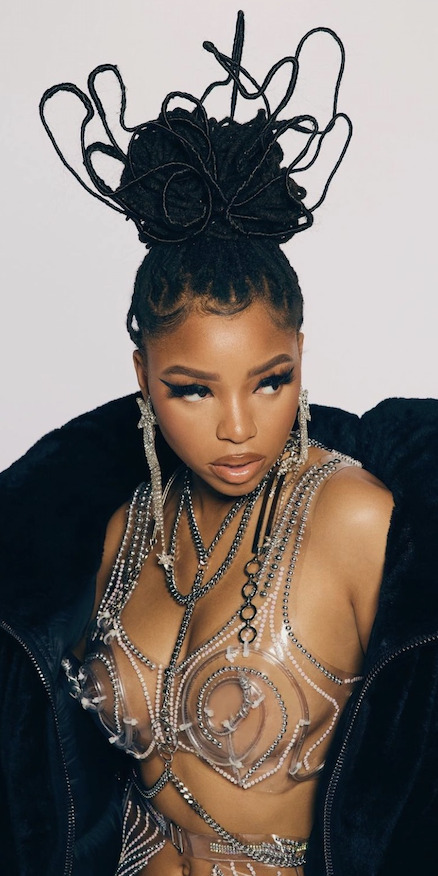
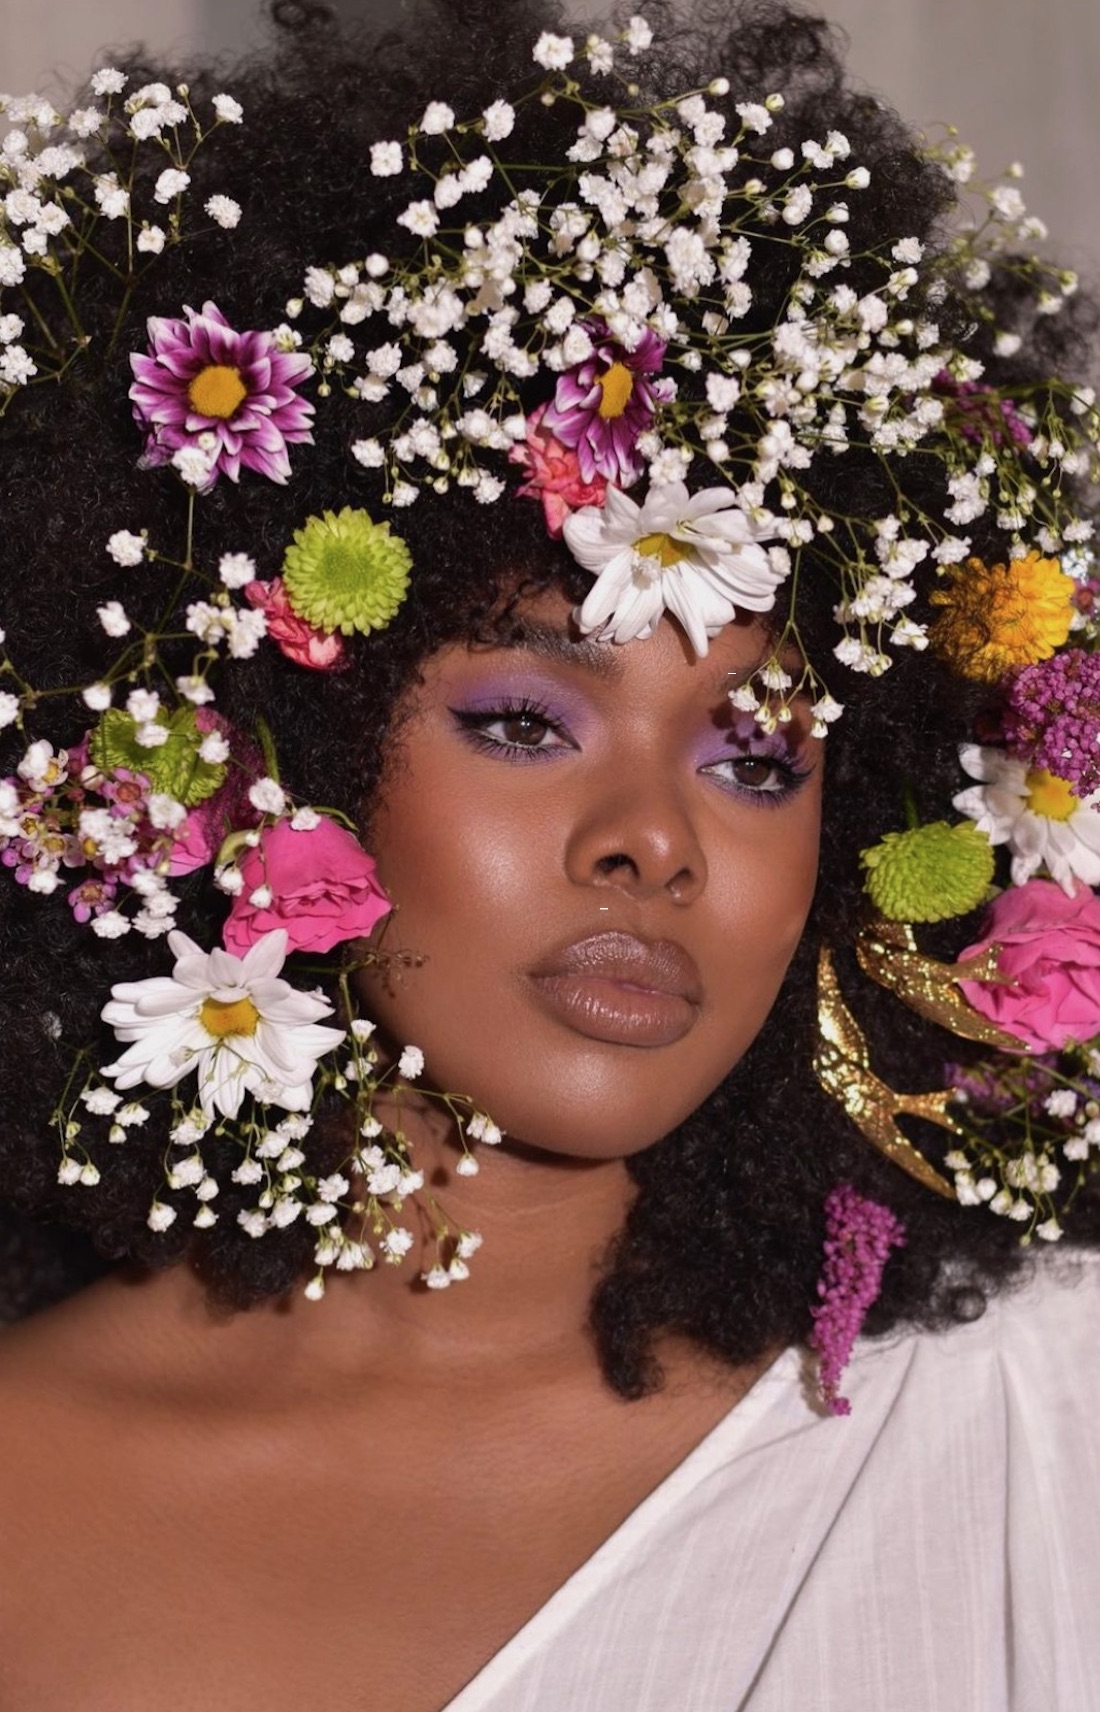
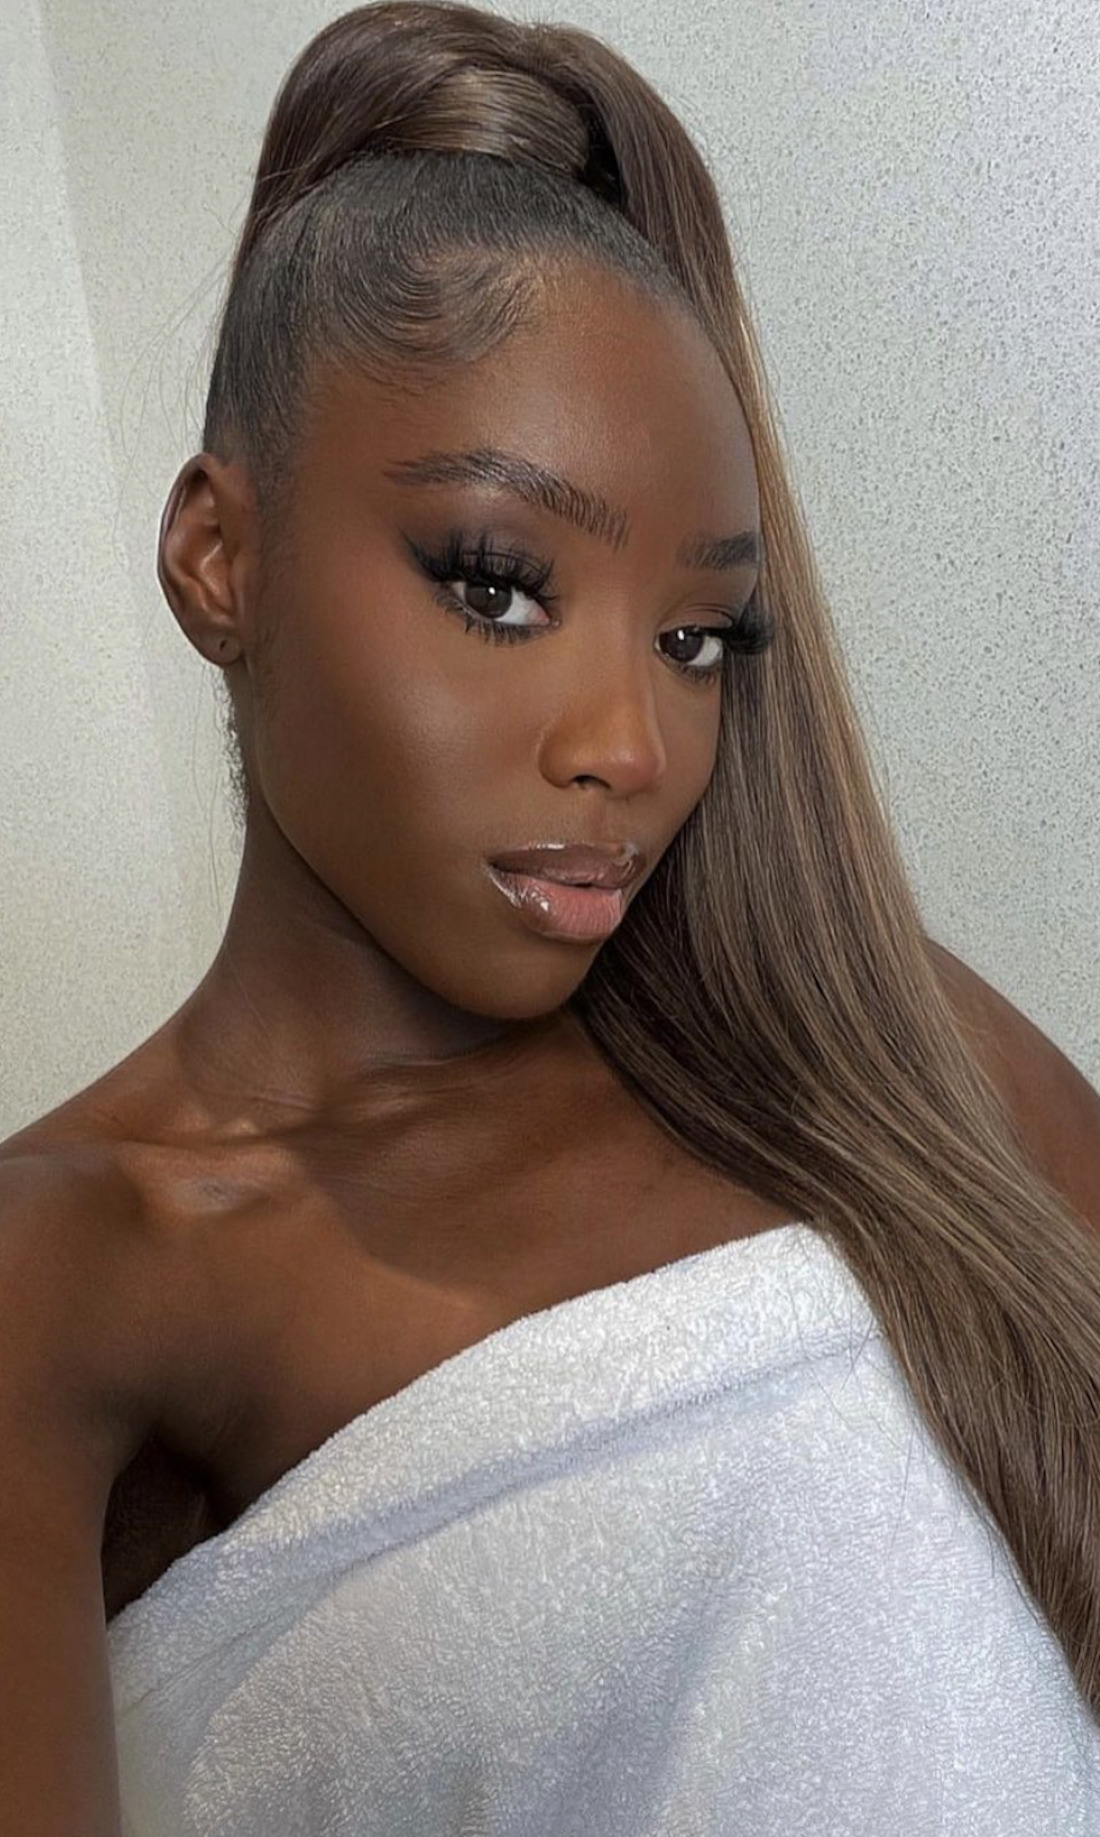
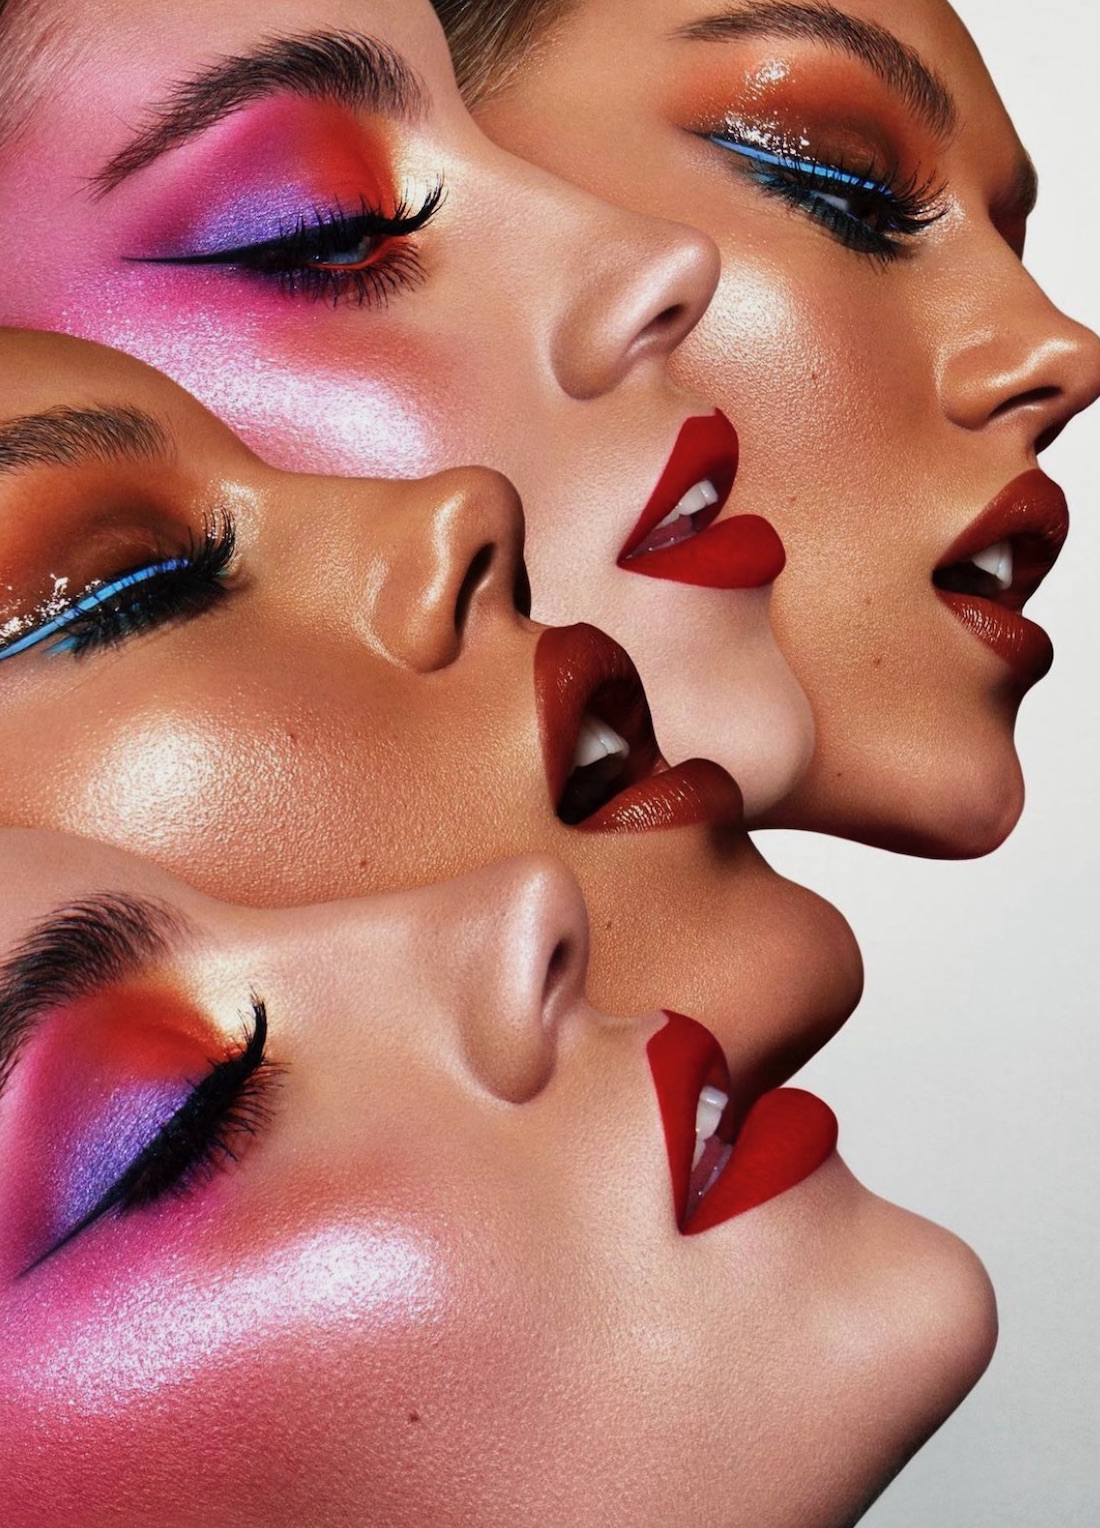
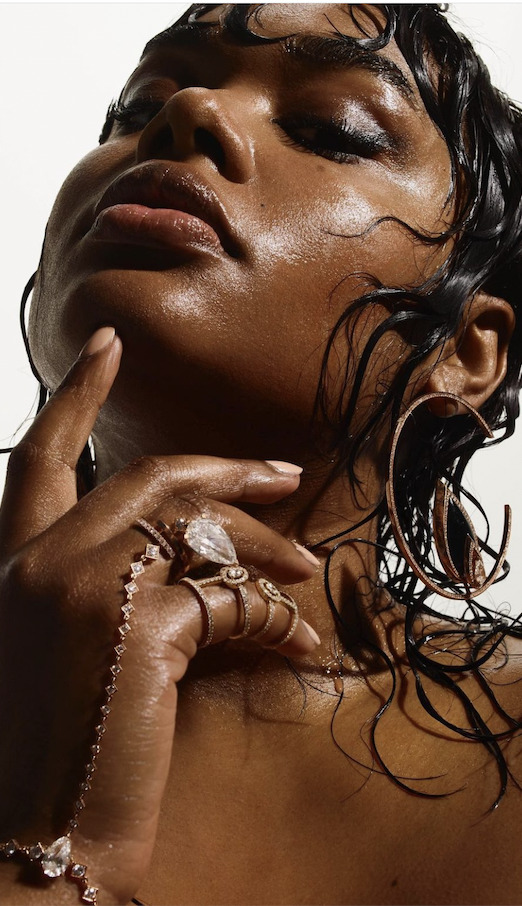
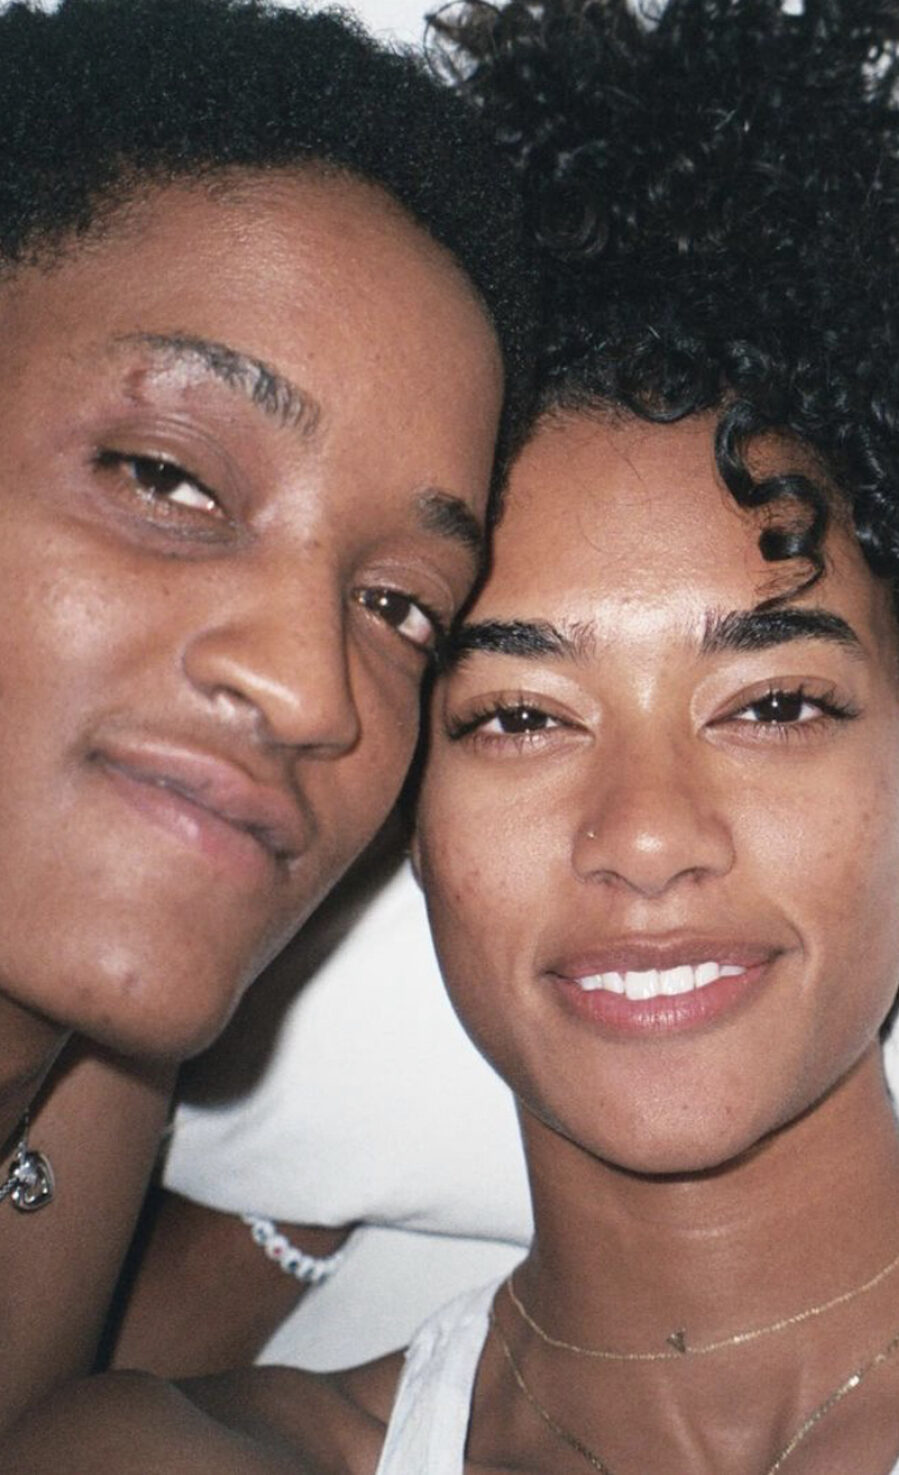
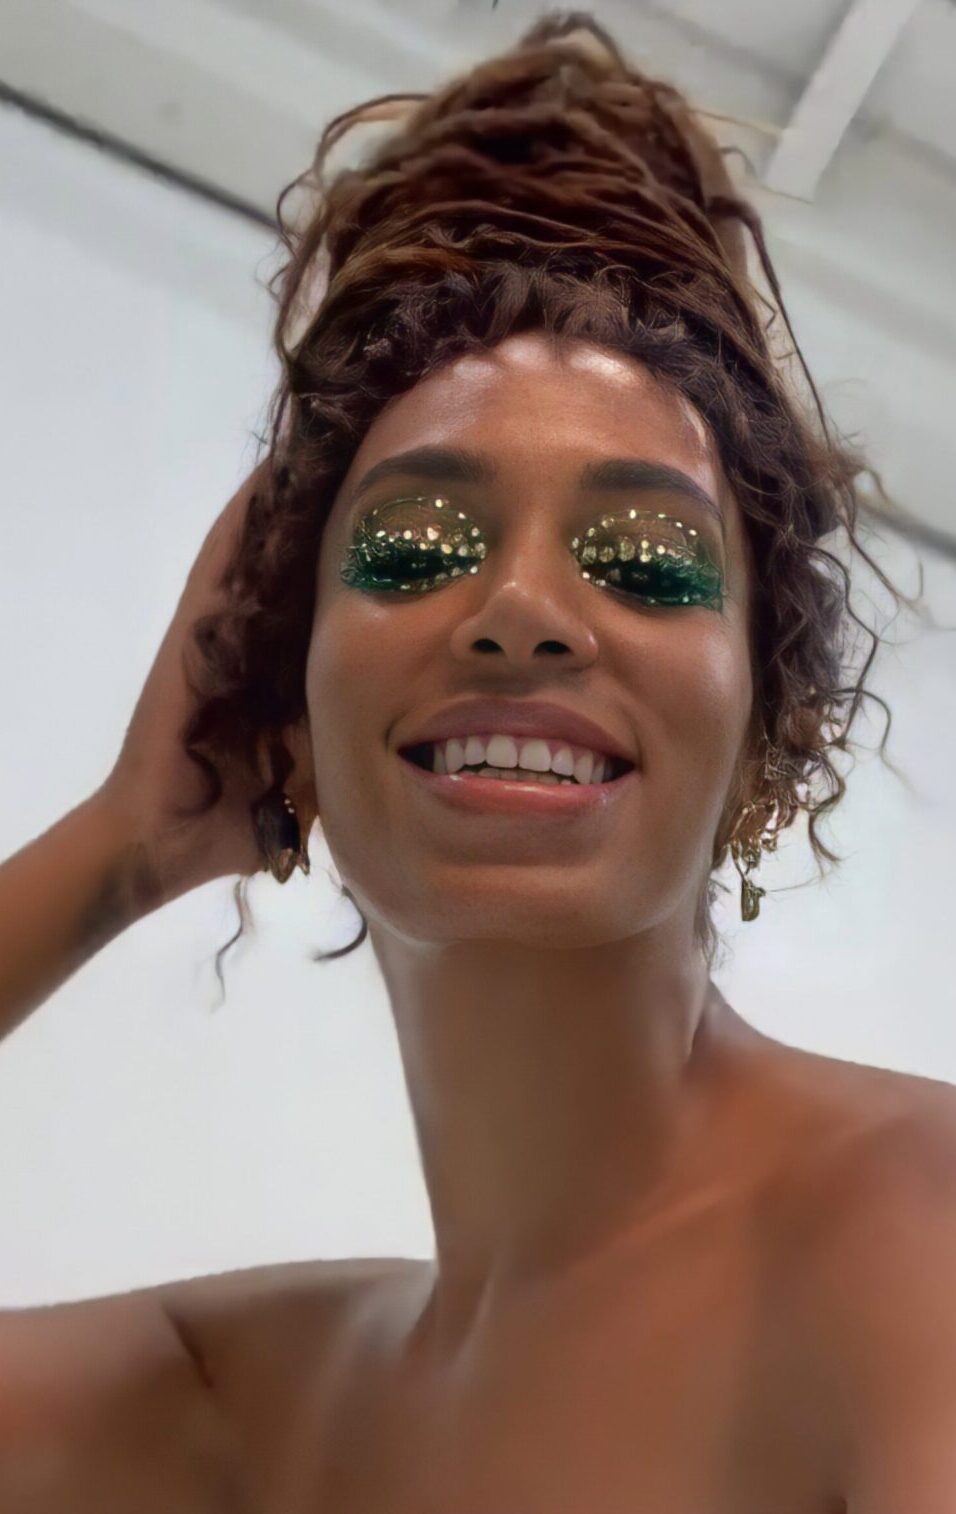
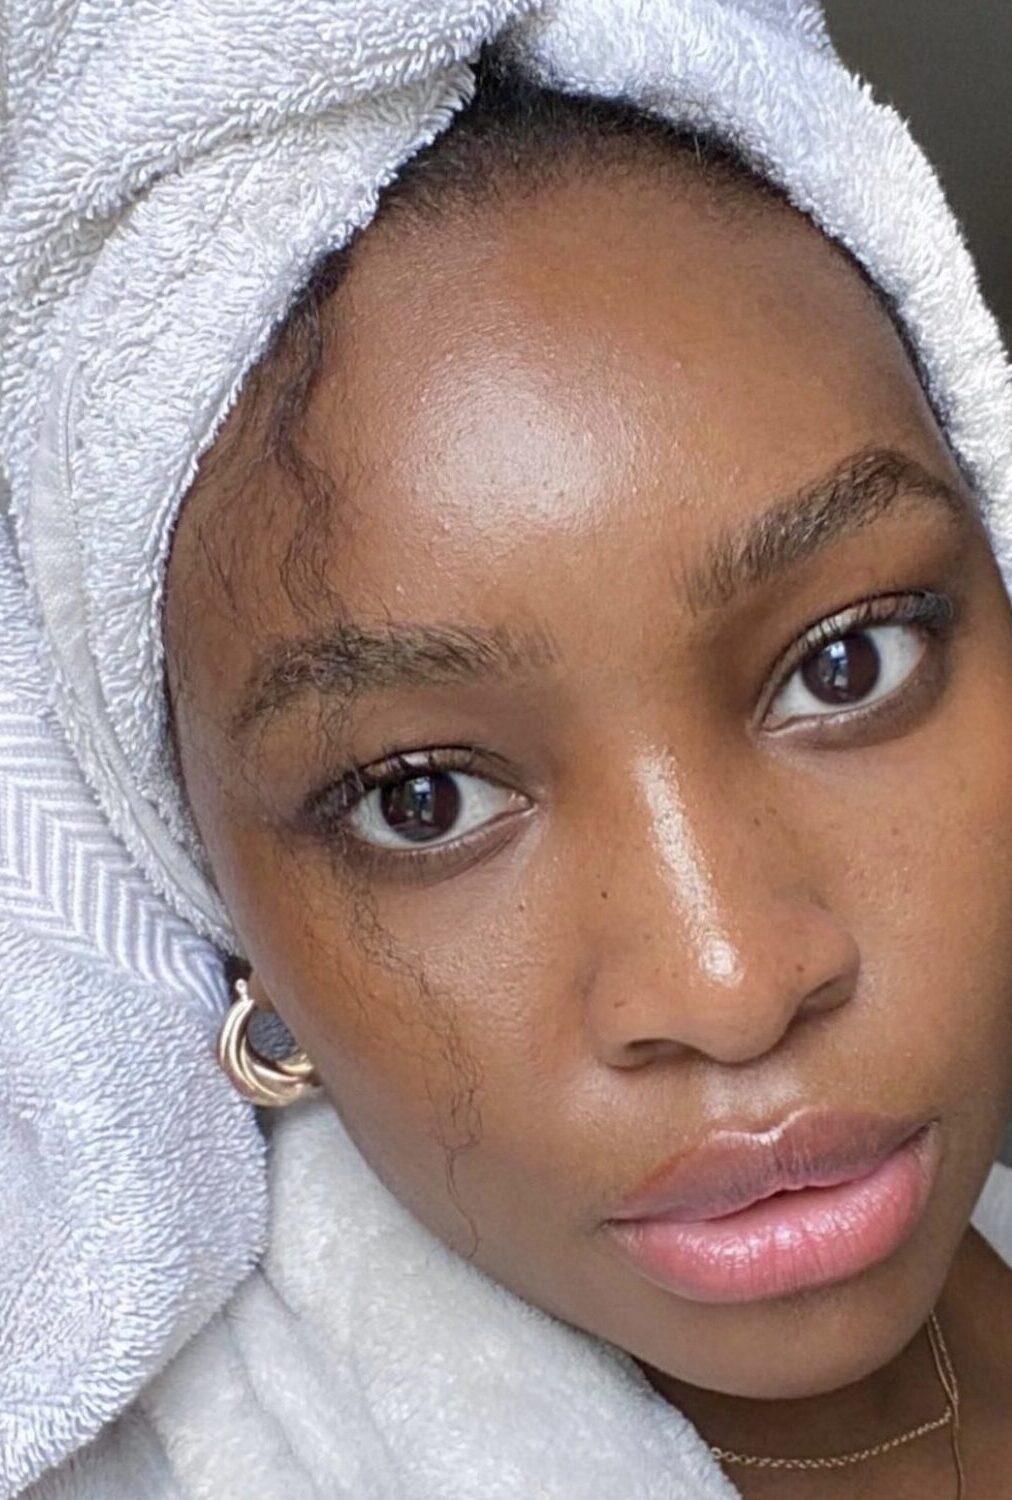
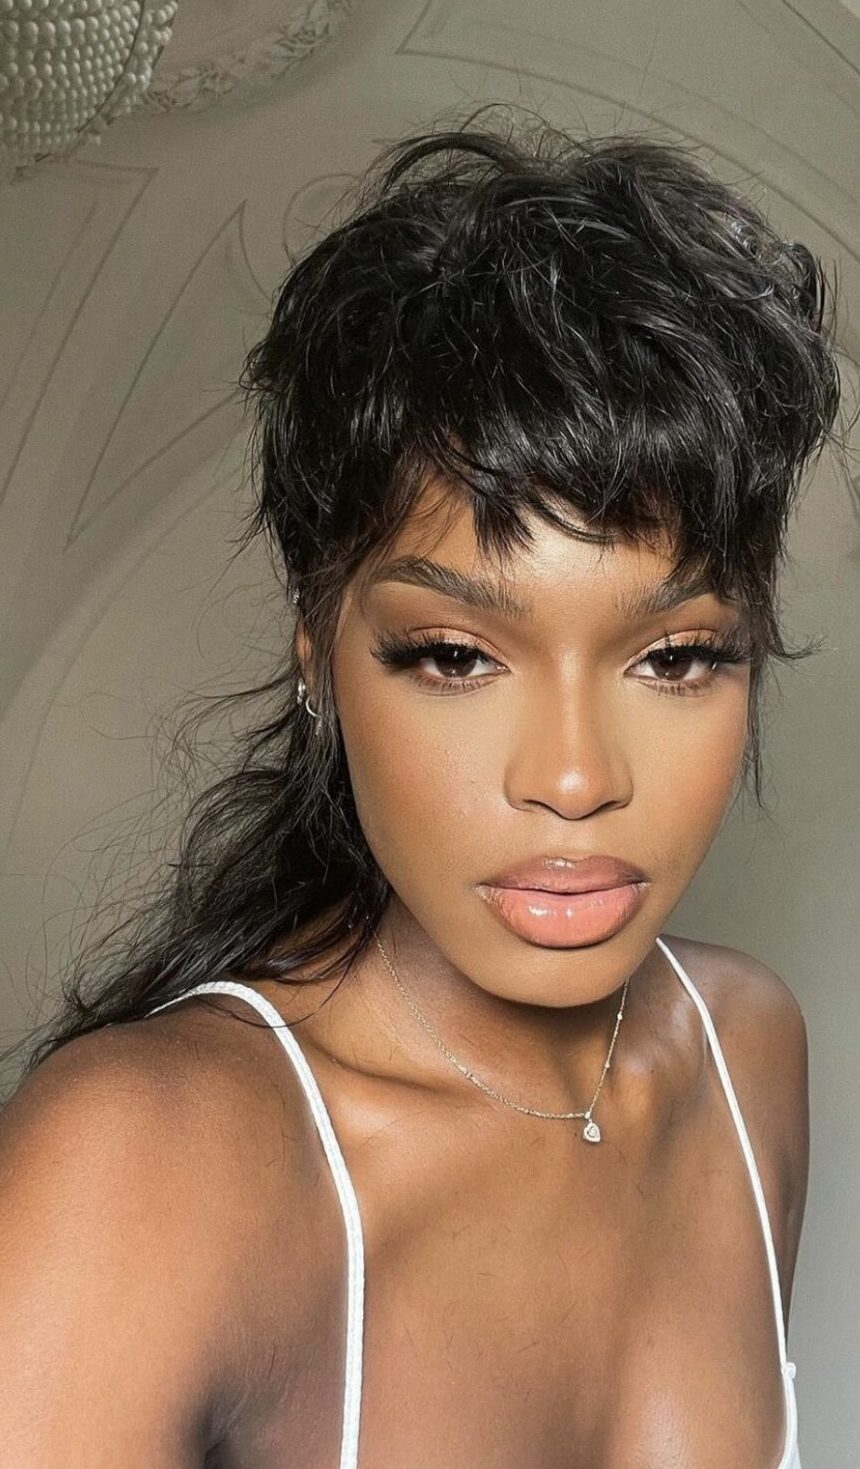
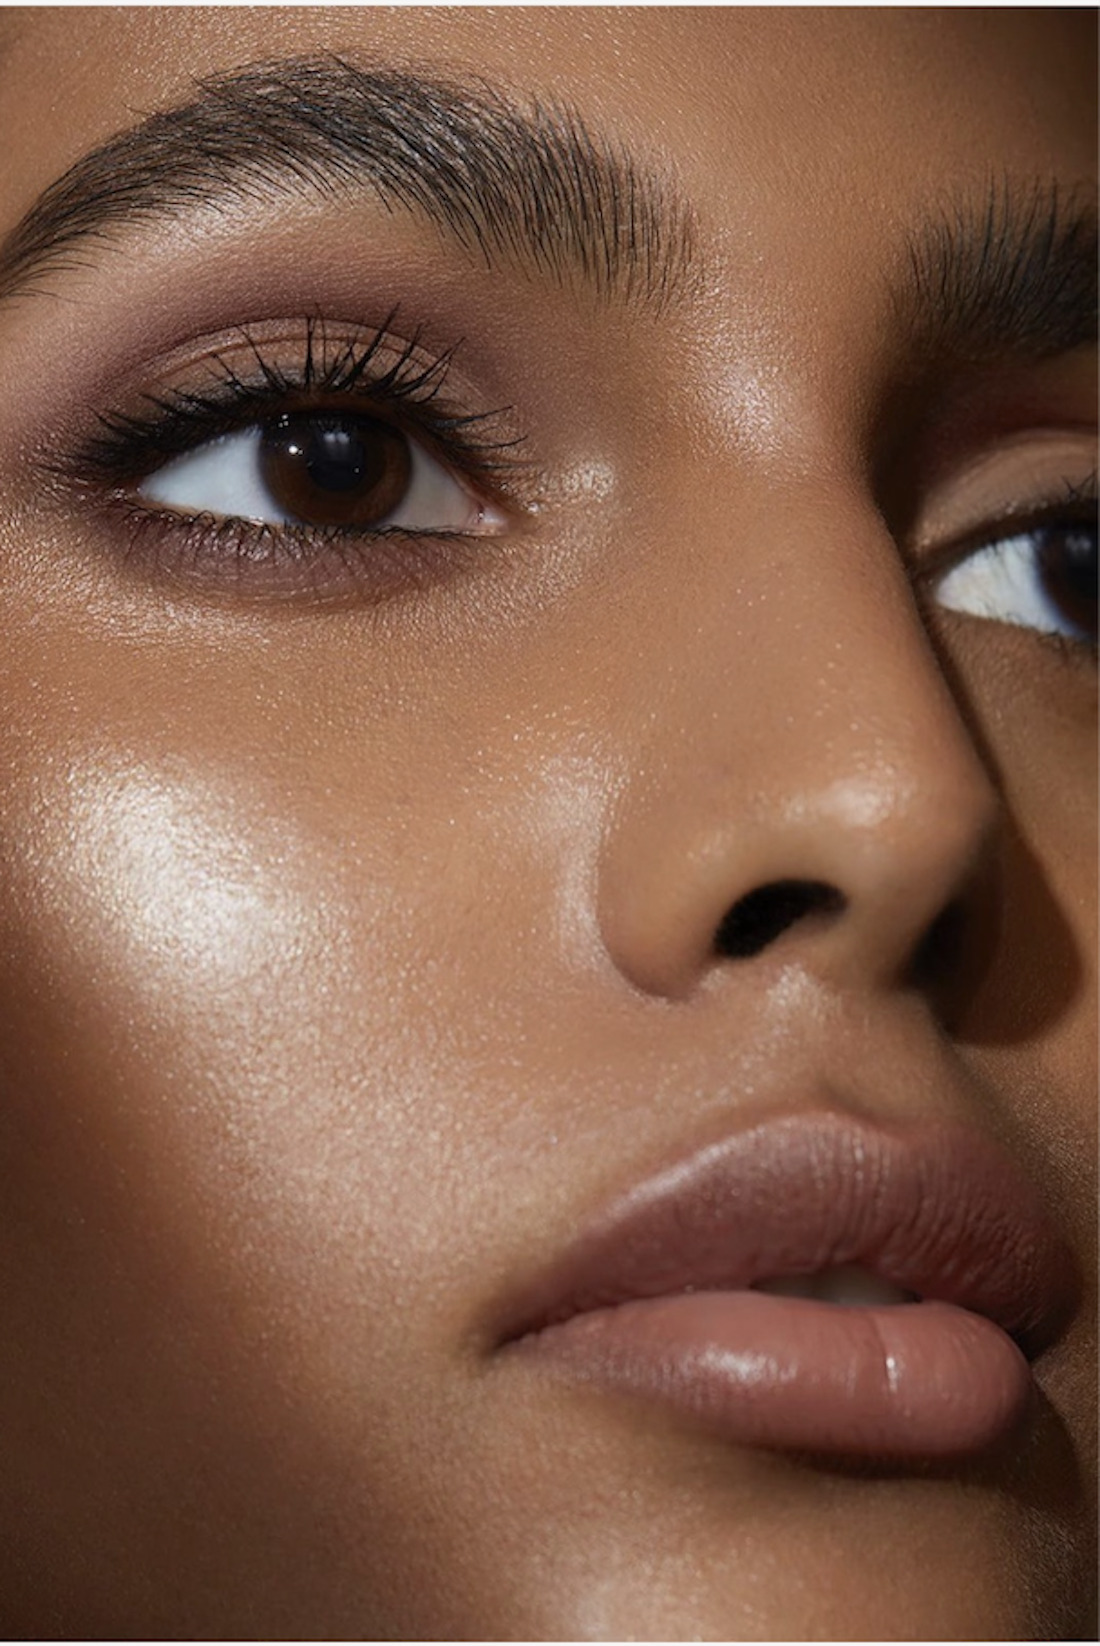
Image by @nikkimakeup
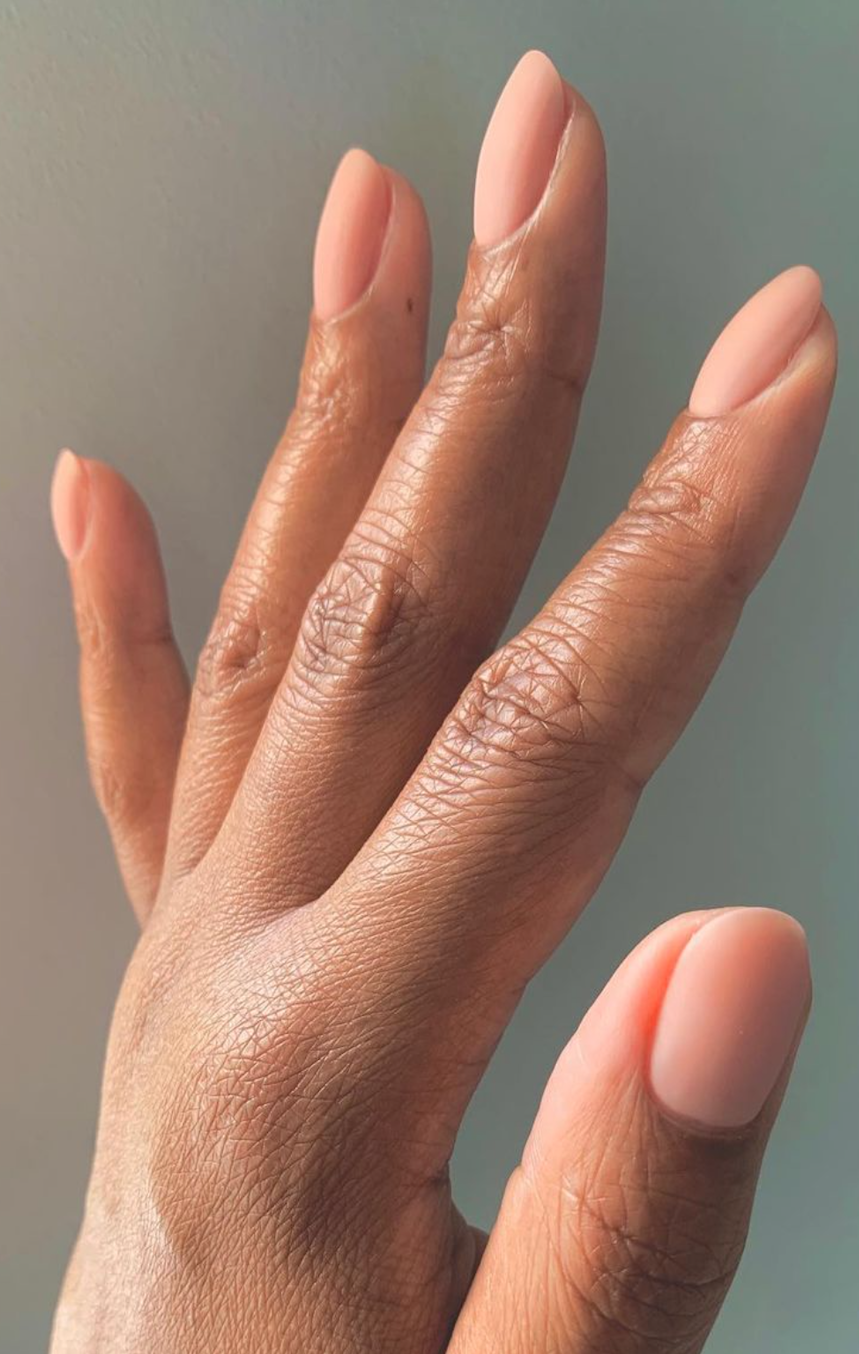
Natural makeup has always been popular and is my go-to most of the time. There is a distinction between natural and neutral makeup, especially where skin is concerned. It’s easy to get the two misconstrued and often neutral makeup looks are mistaken for “natural” makeup just because of the use of muted, neutral tones. I want to share my tips on achieving the type of natural makeup that requires minimal effort with maximum effect.
So, whether you are going to work, have less than 20 minutes to get ready or simply want to look effortlessly made up, here is my 10 step guide to achieving a natural makeup look that involves flawless skin with a touch of colour on your eyes, cheeks, and lips.
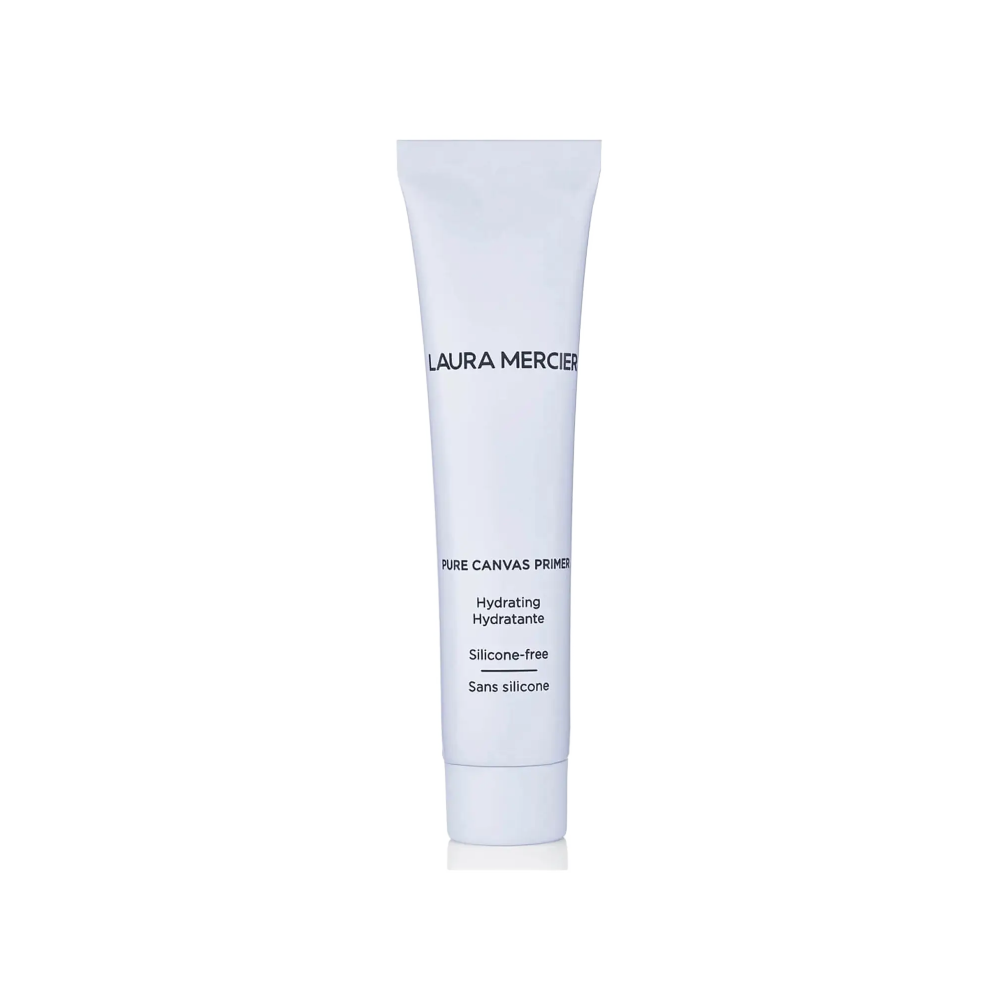
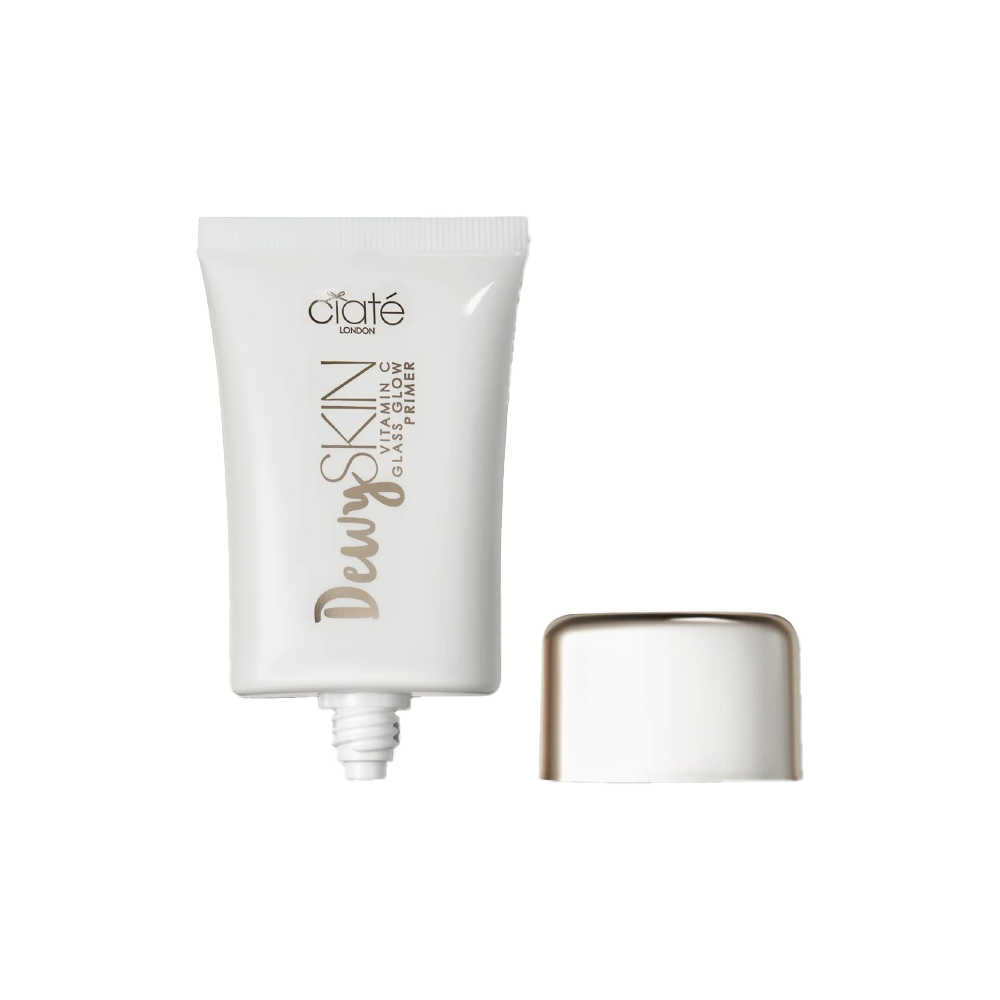
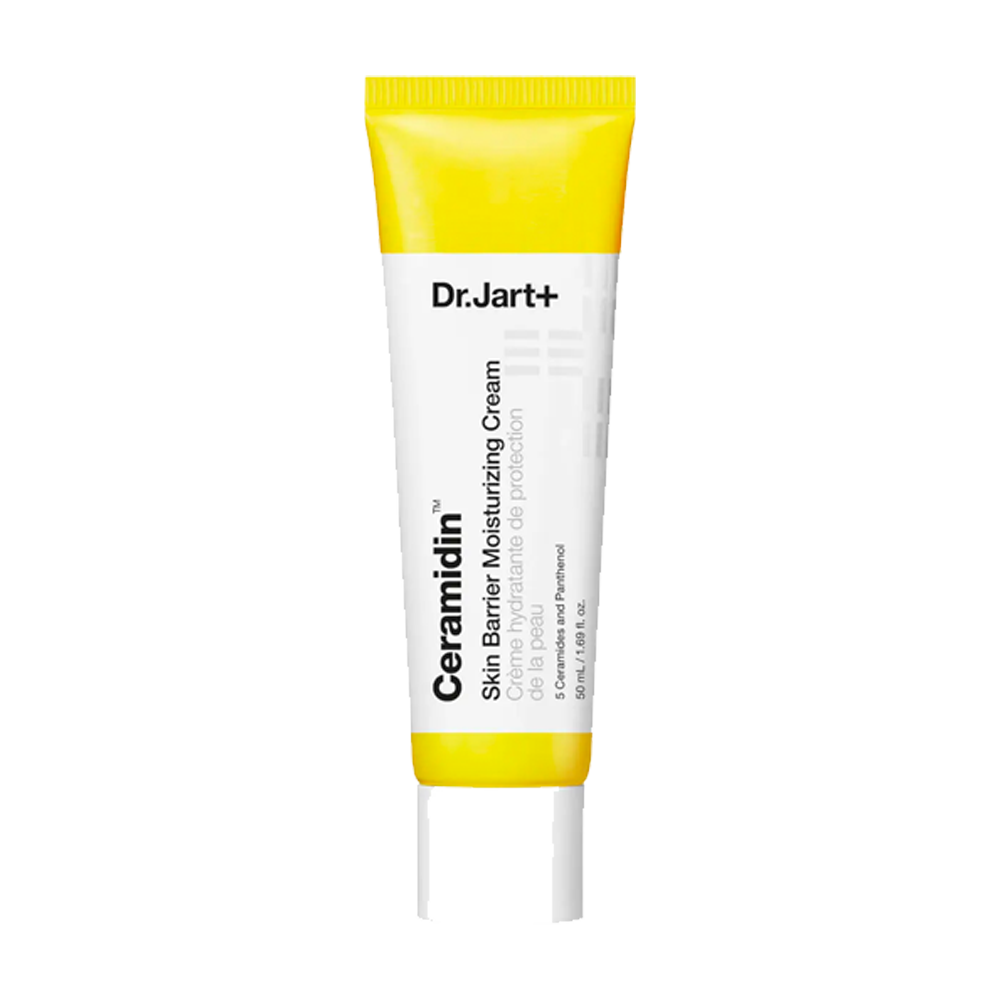
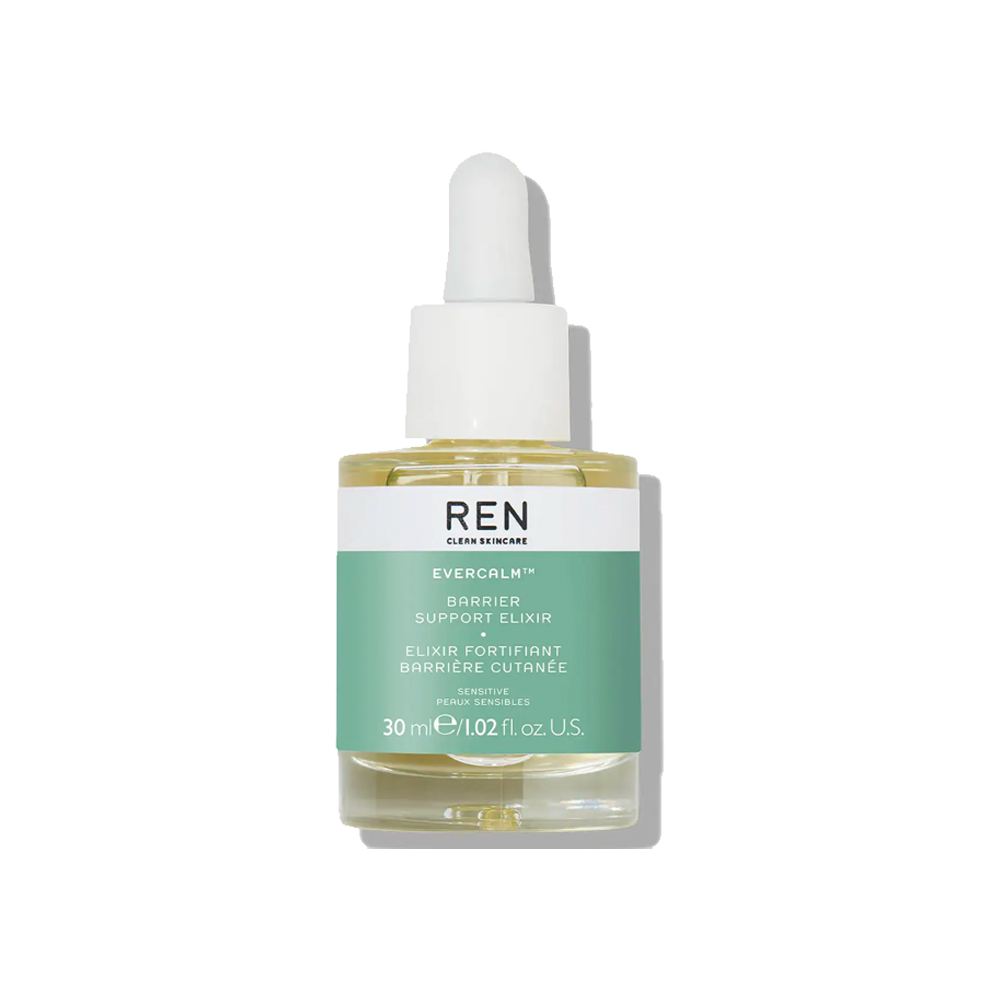
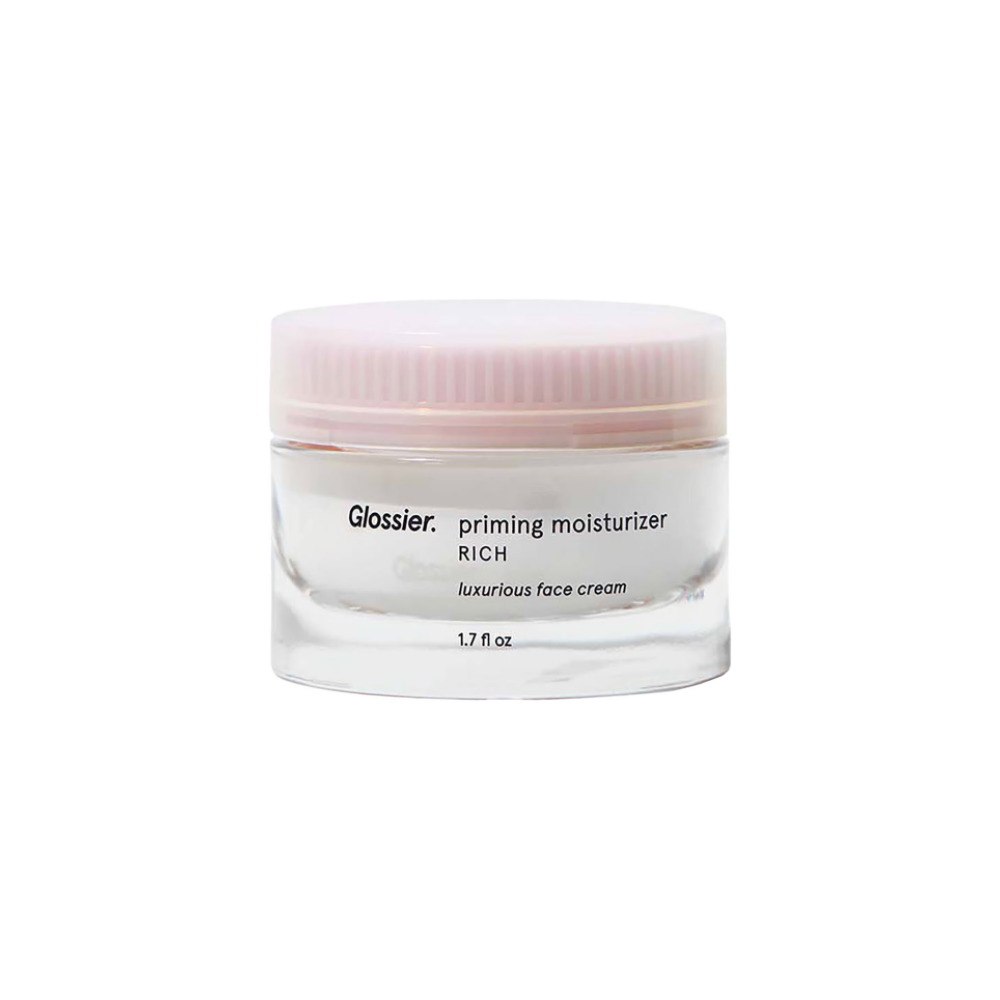
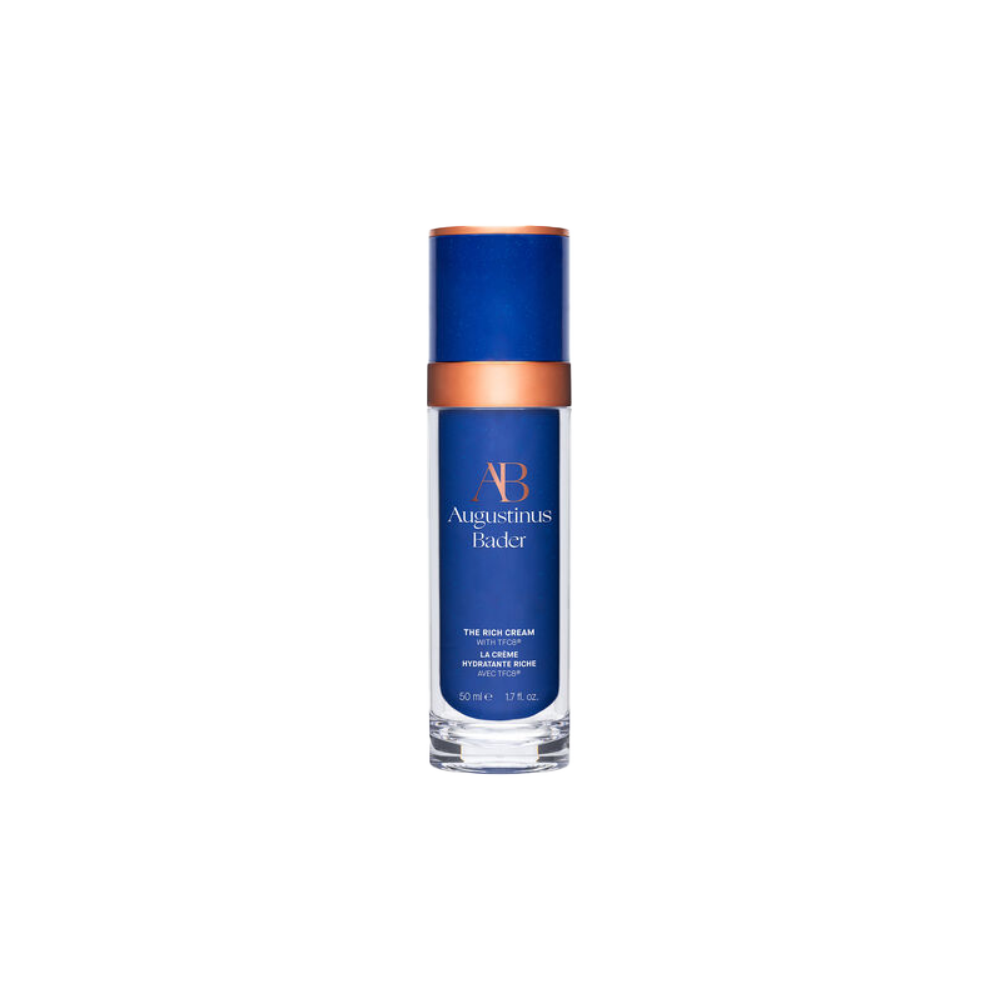
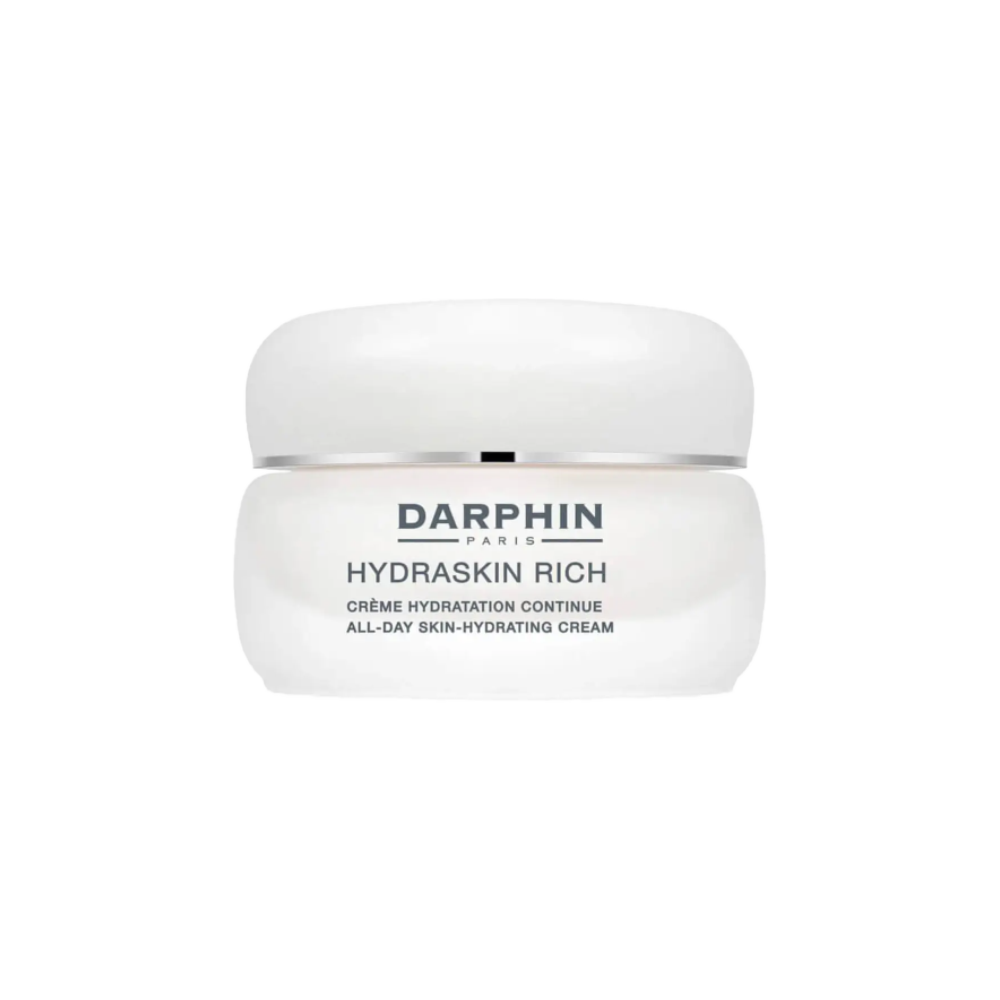
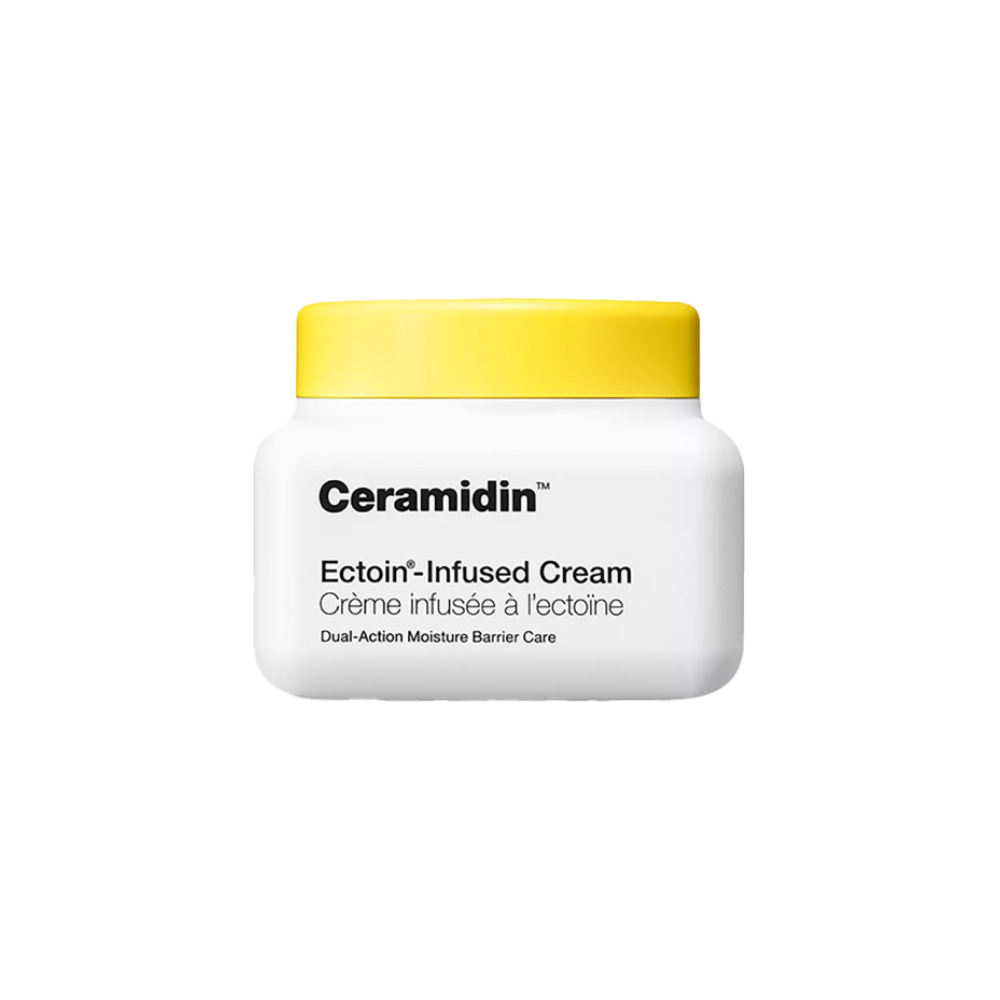
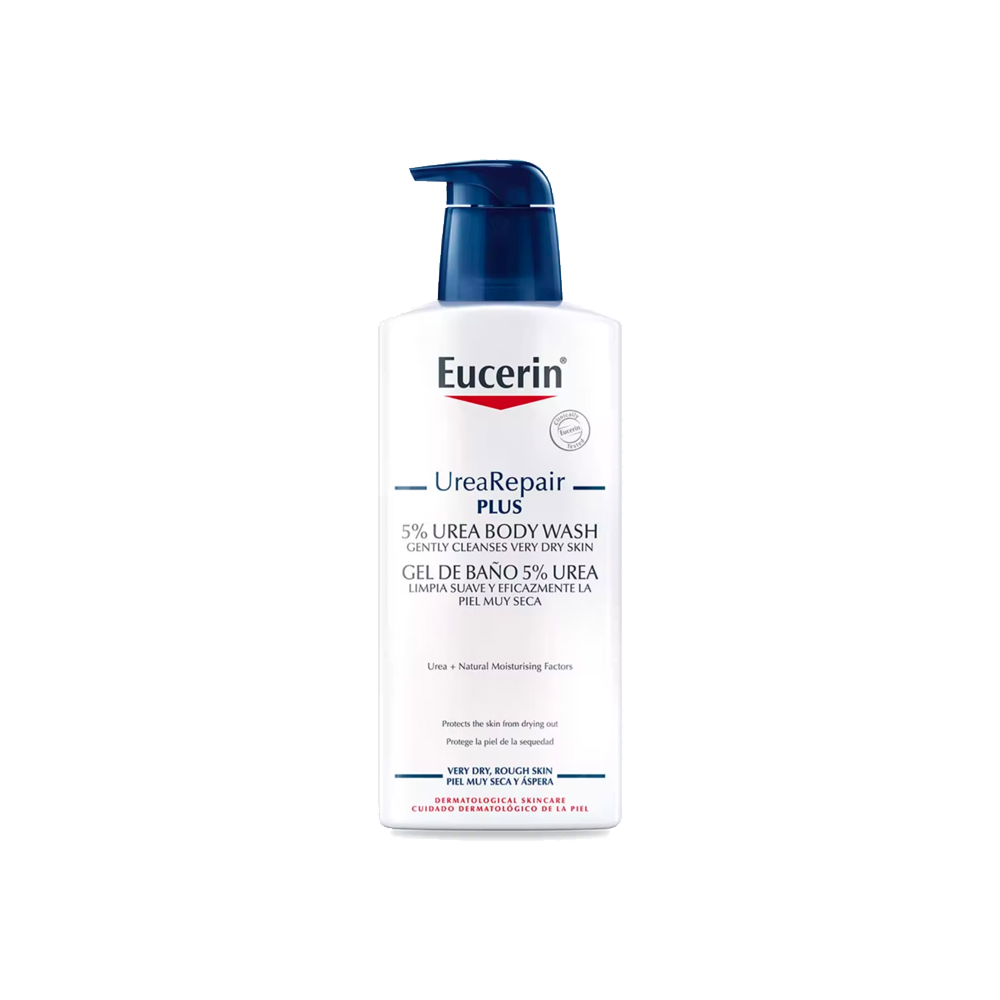
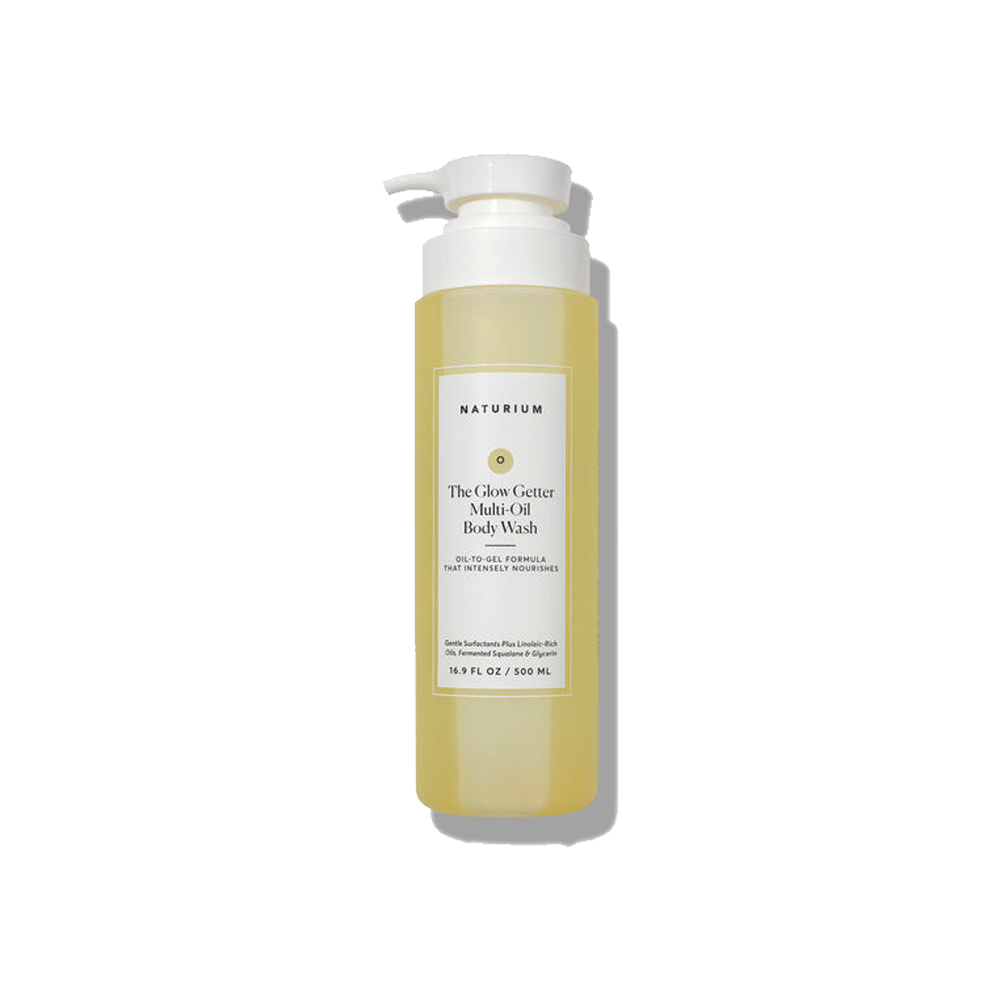
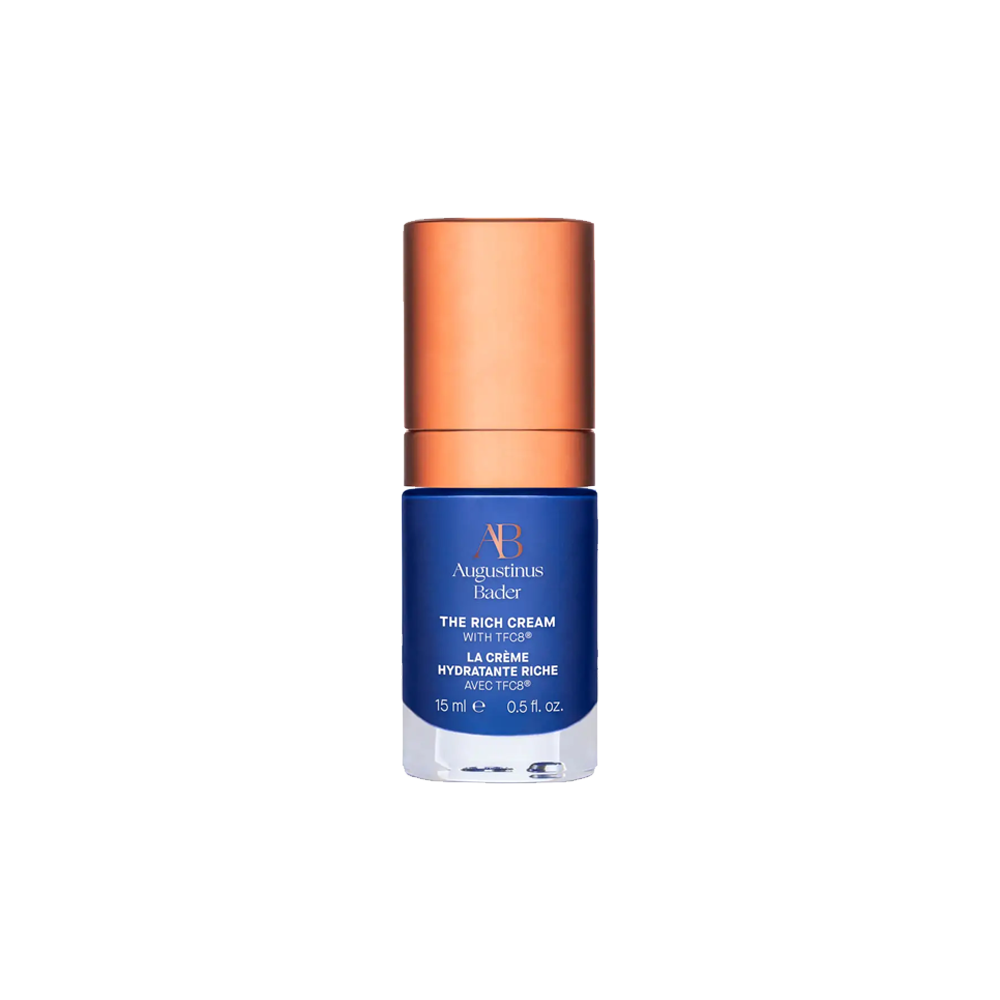
Step 1: Prepare your skin
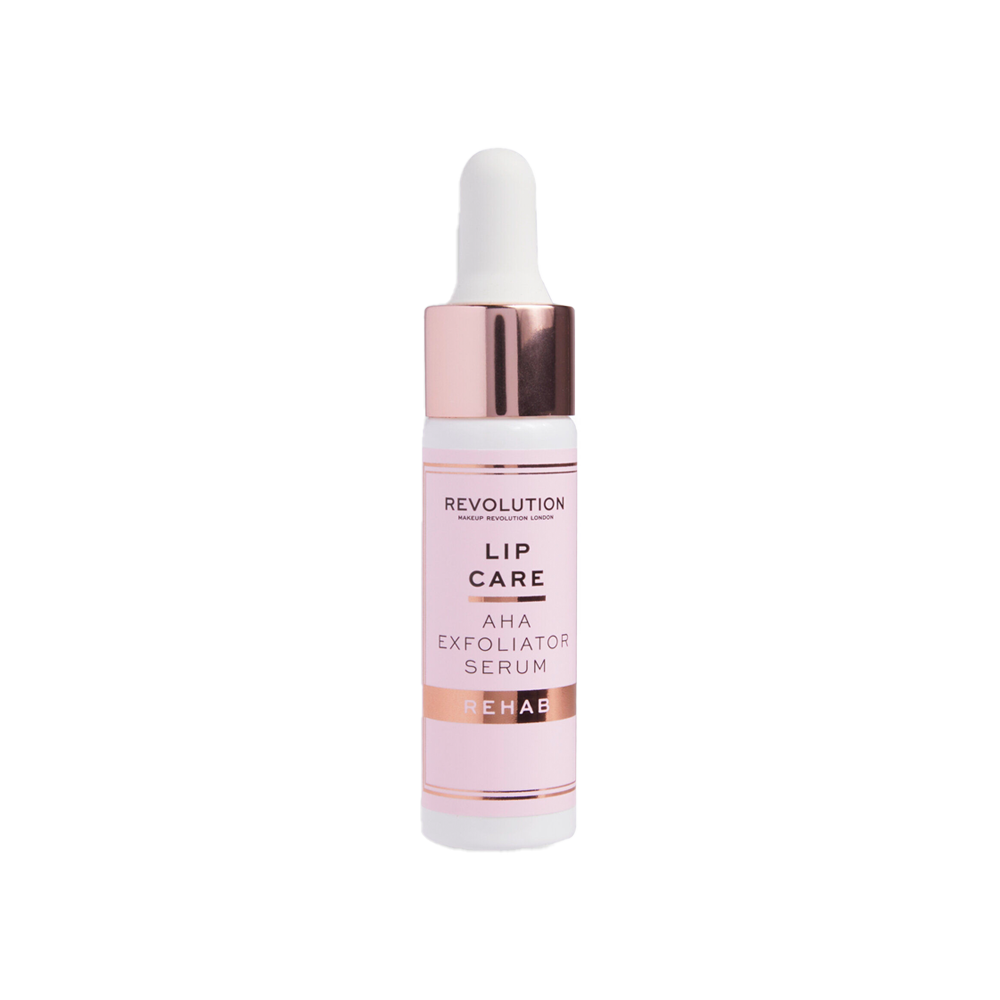
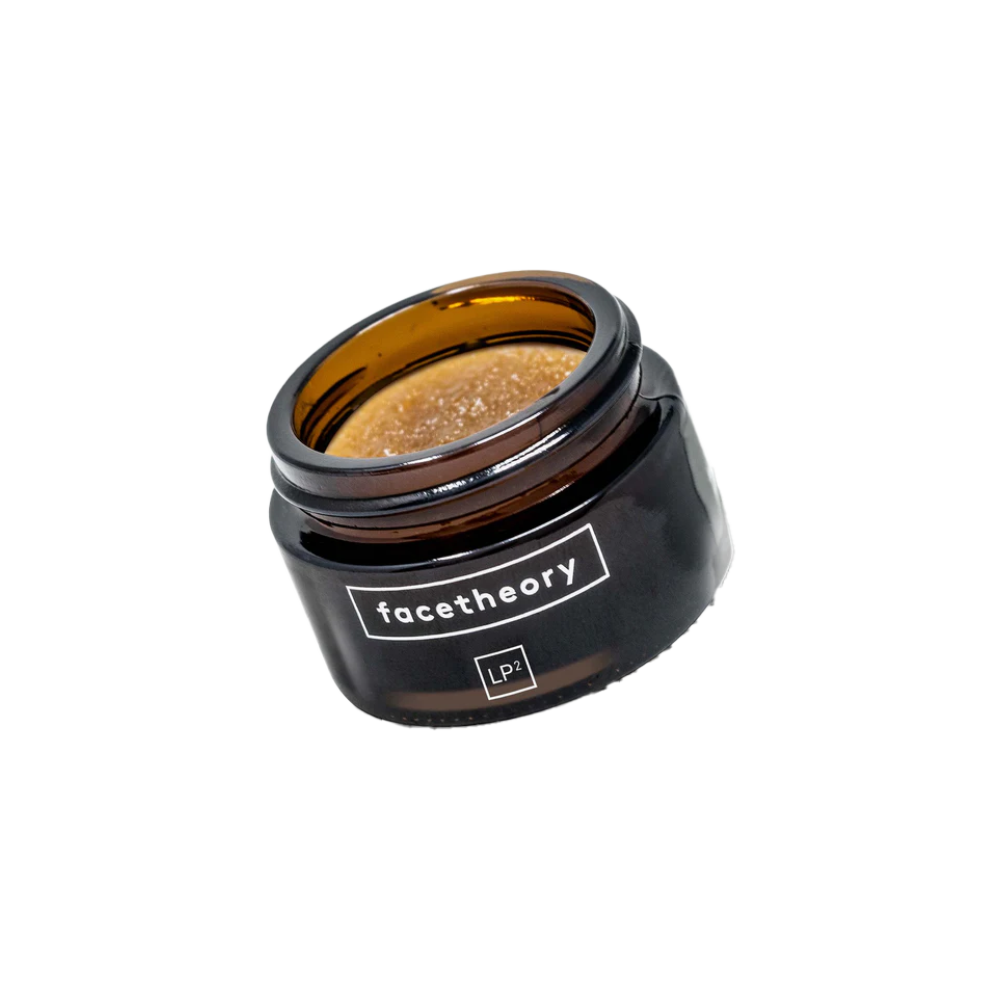
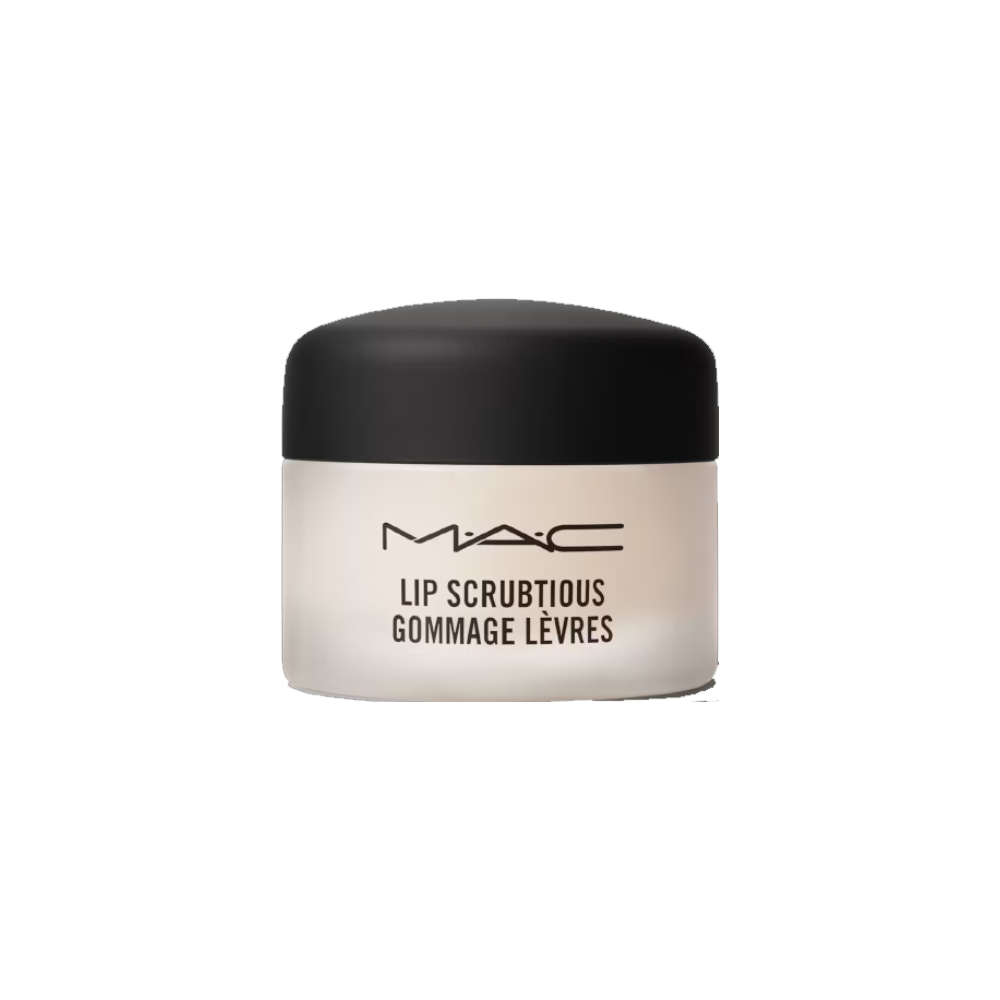
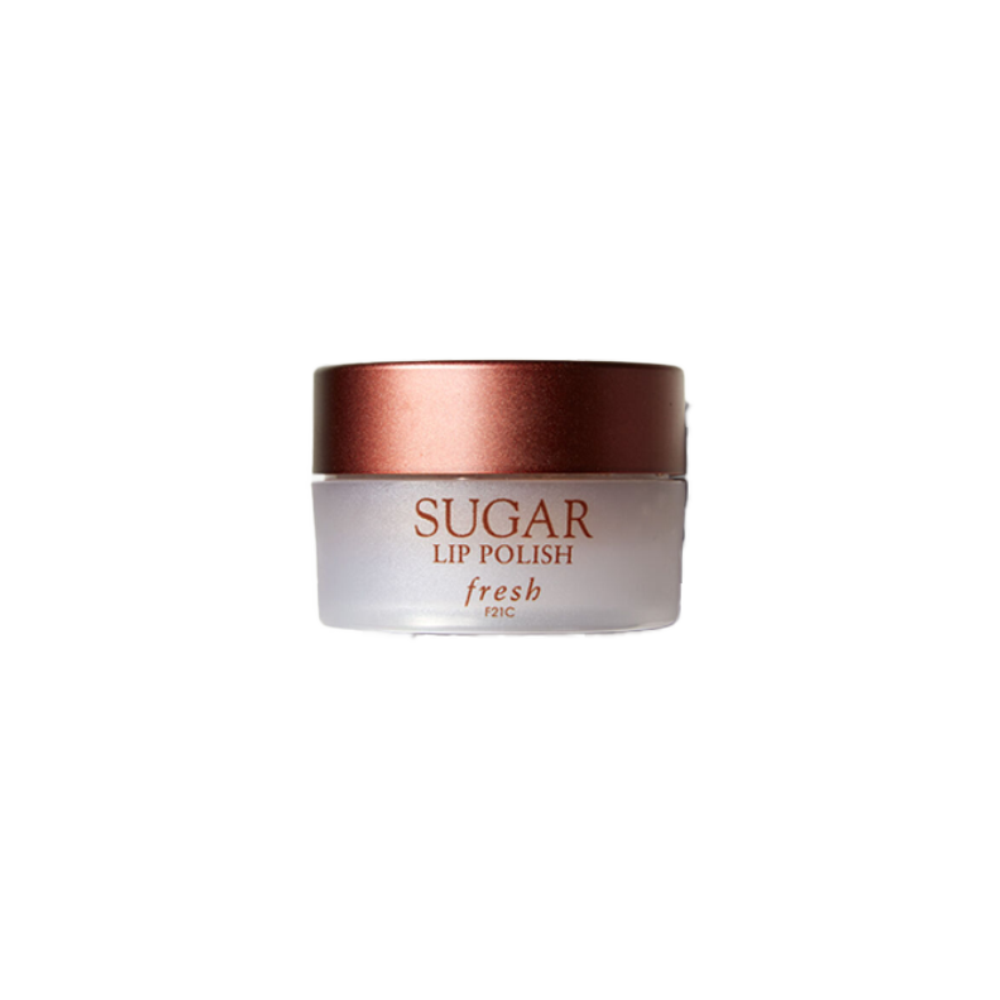
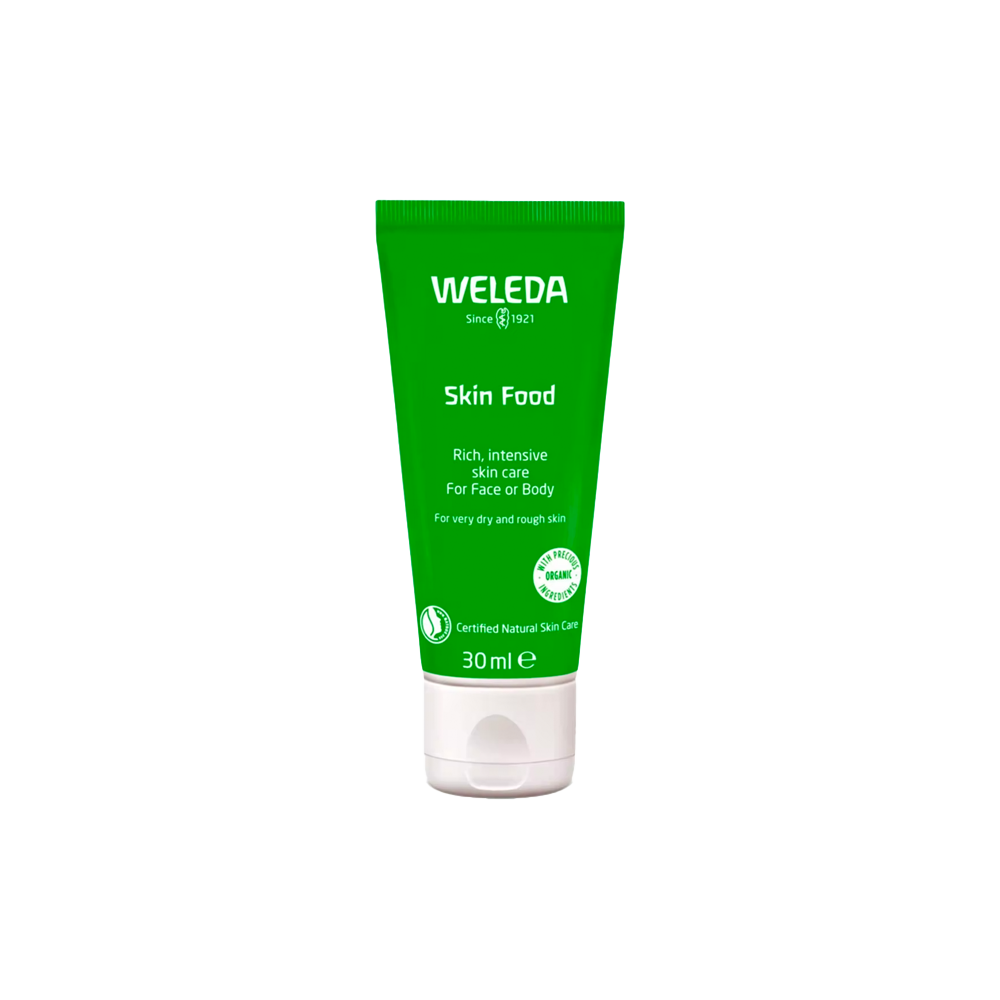
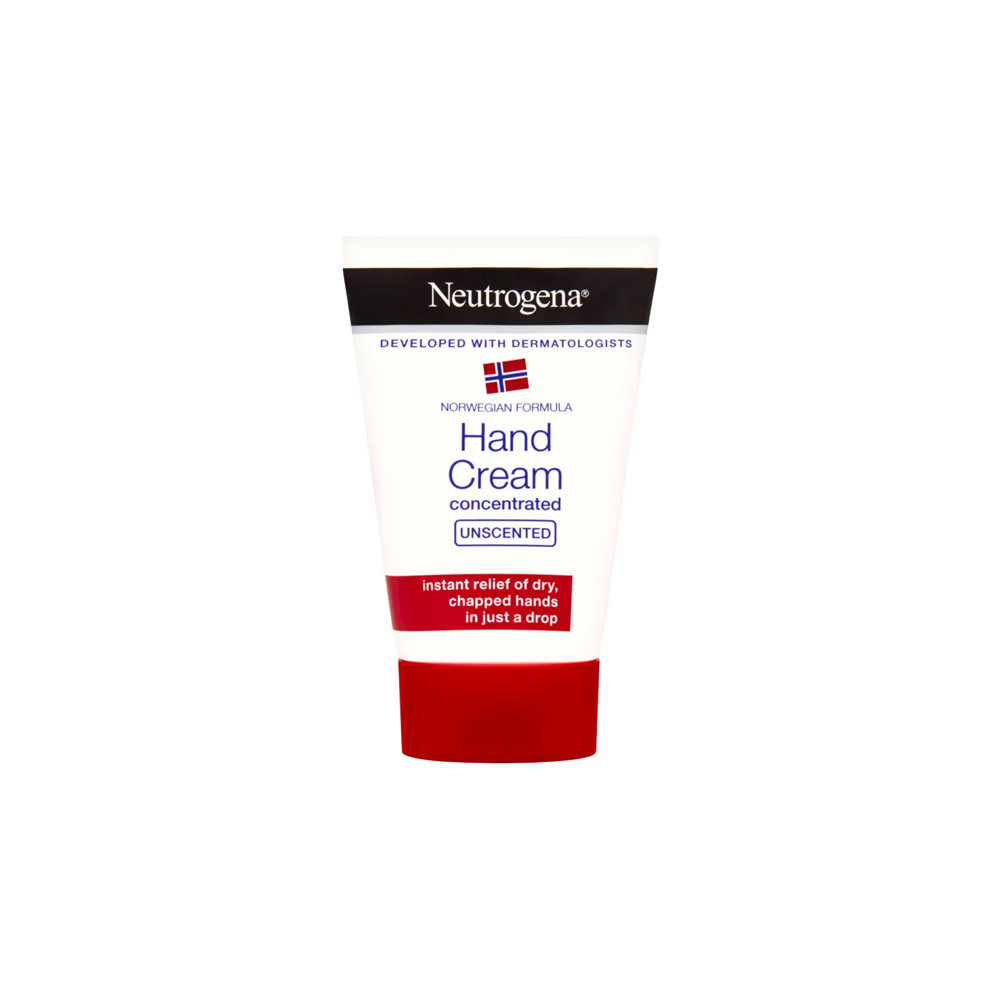
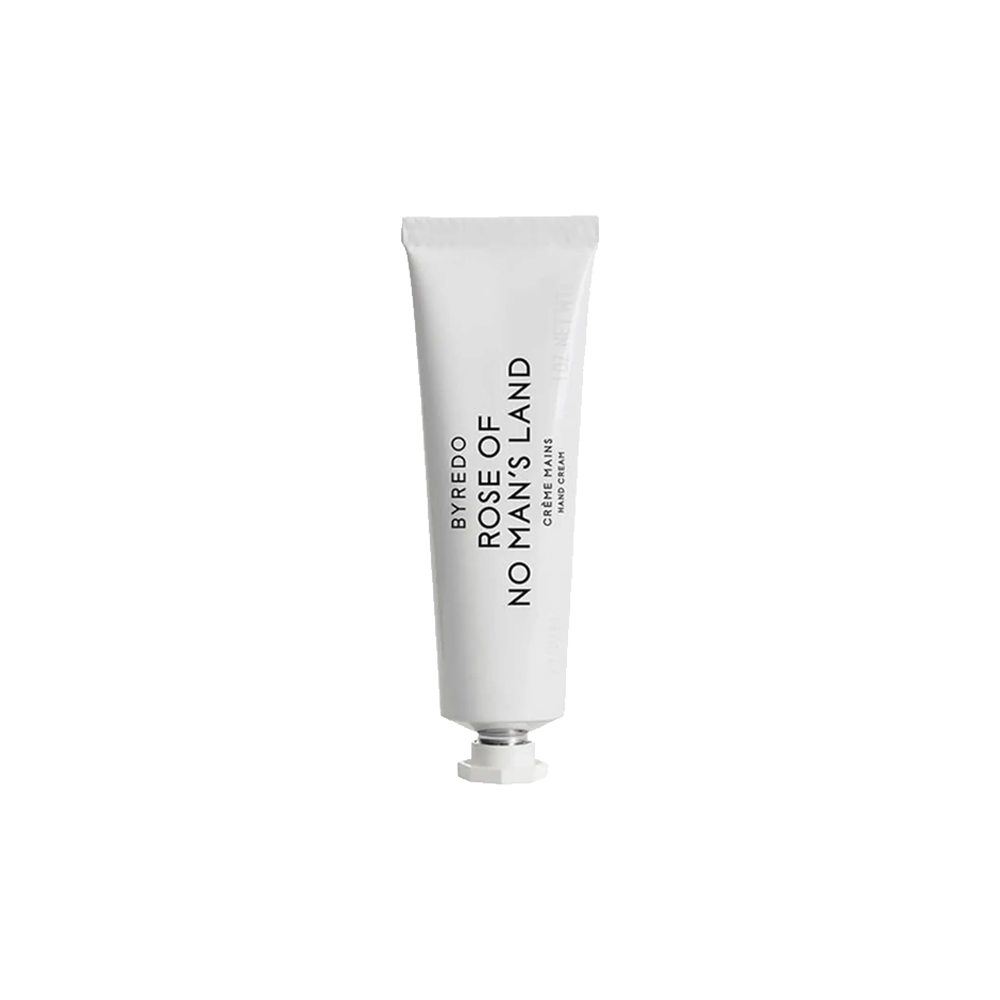
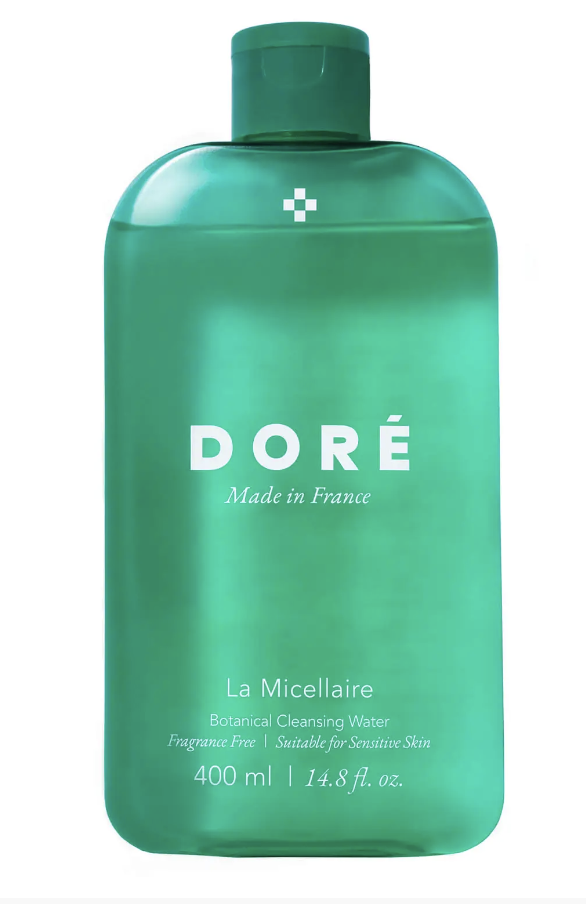
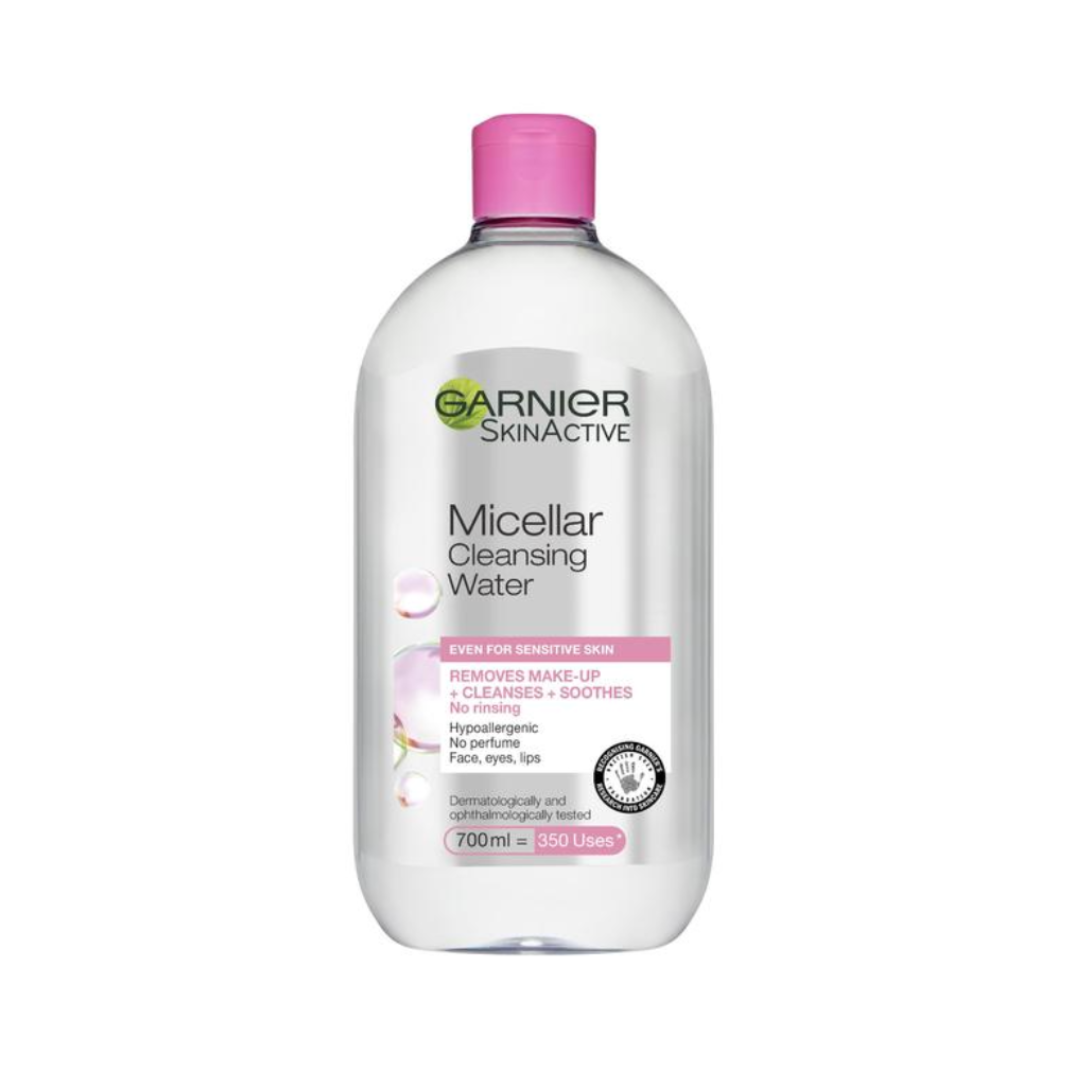
If you take good care of your skin there should be no need to apply layers of foundation. This means eat healthily, drink lots of water, use a gentle cleanser, and a mild exfoliant (if necessary). And always, always, always moisturise. Not only will your makeup apply better, but you’ll be comfortable using less of it.
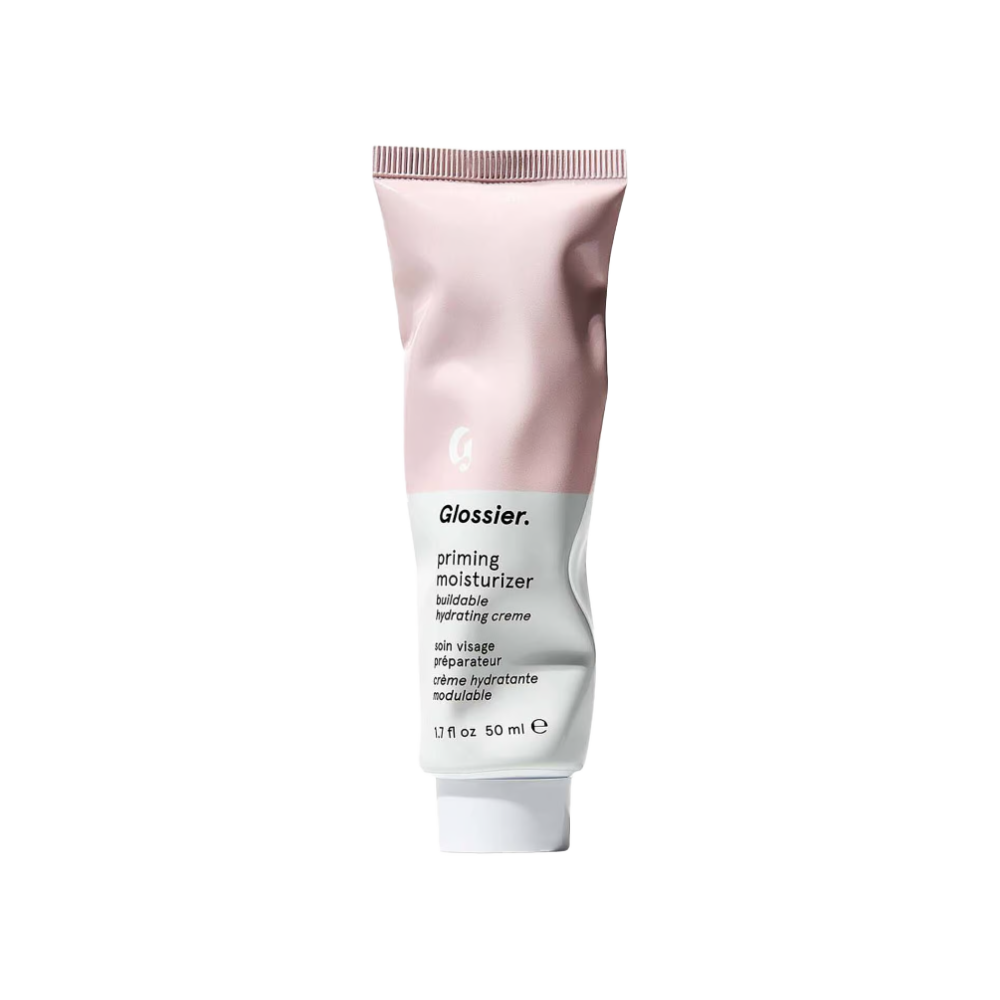
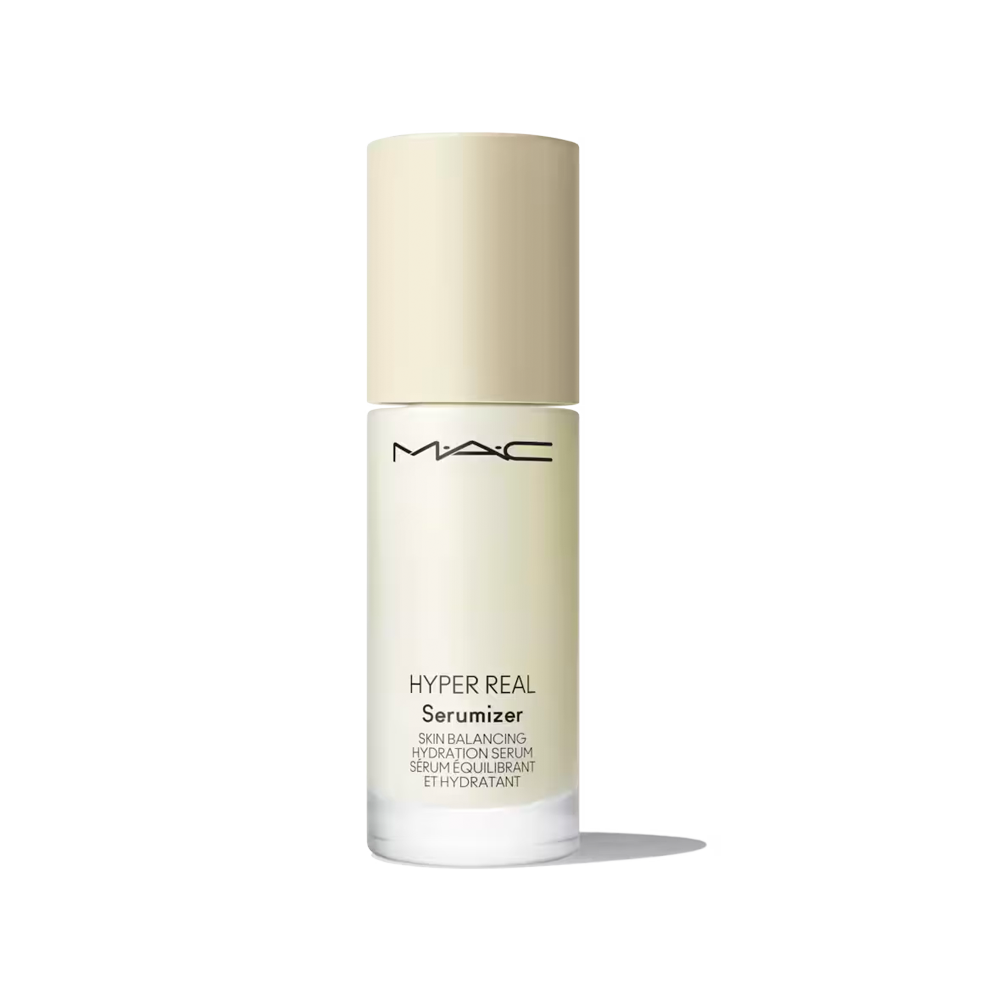
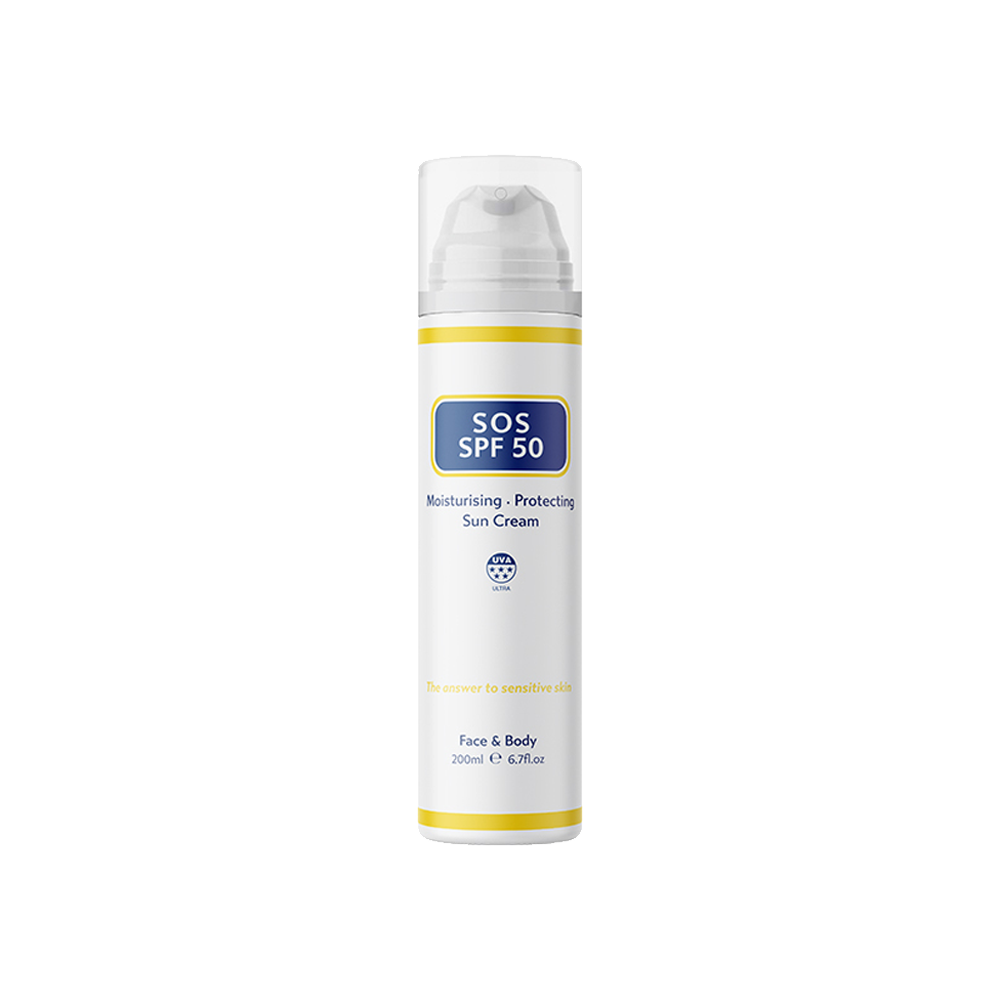
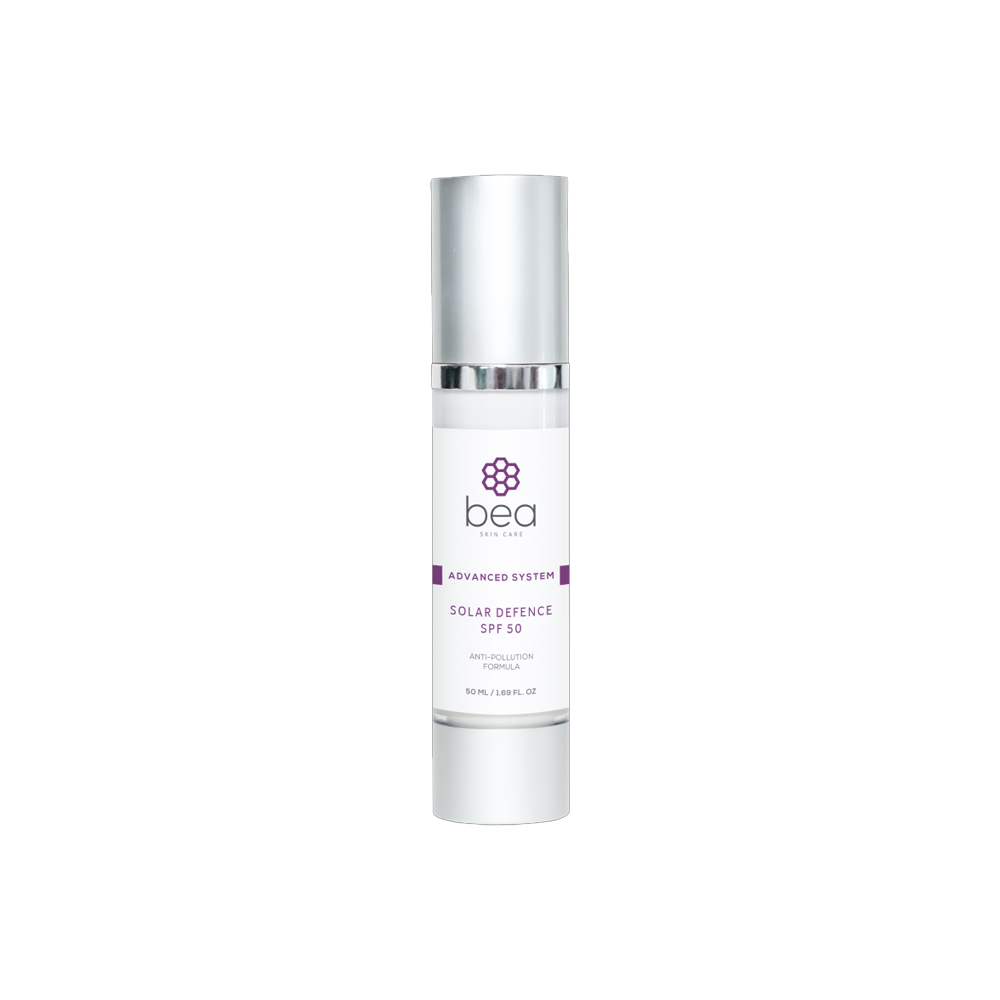
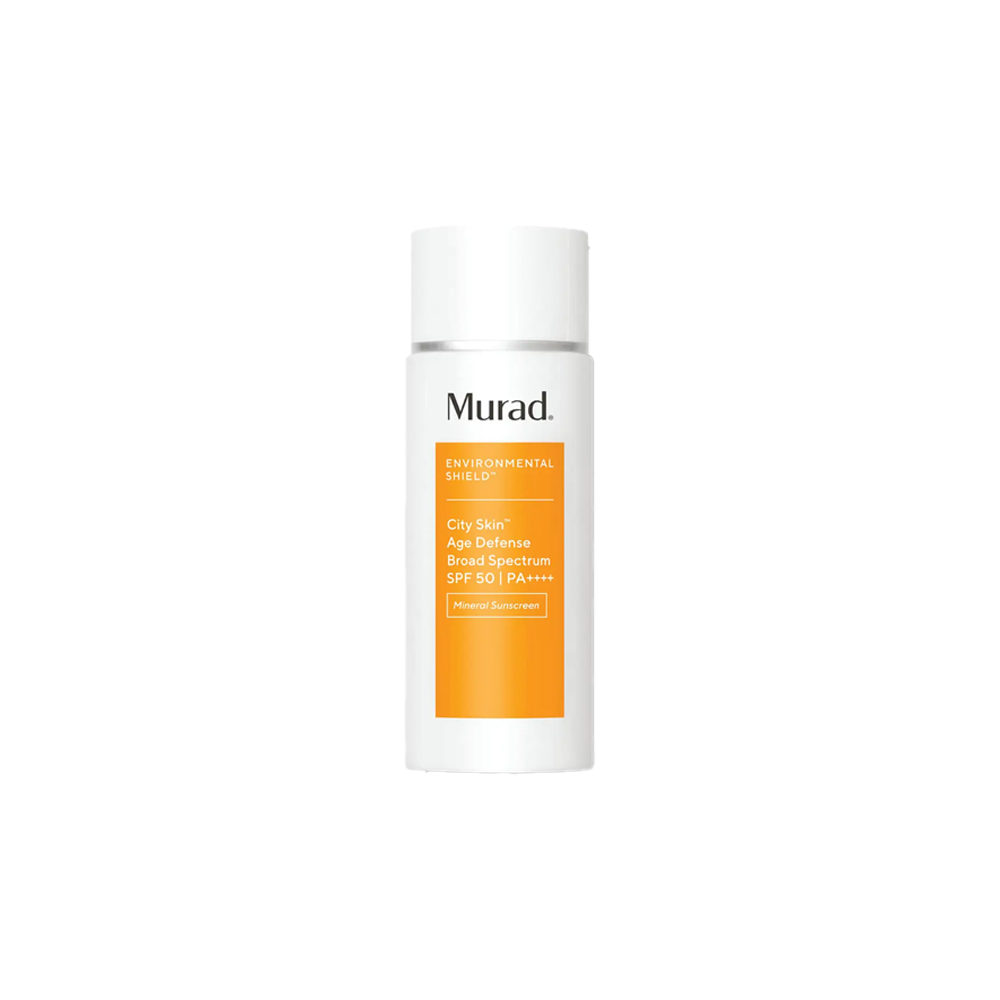
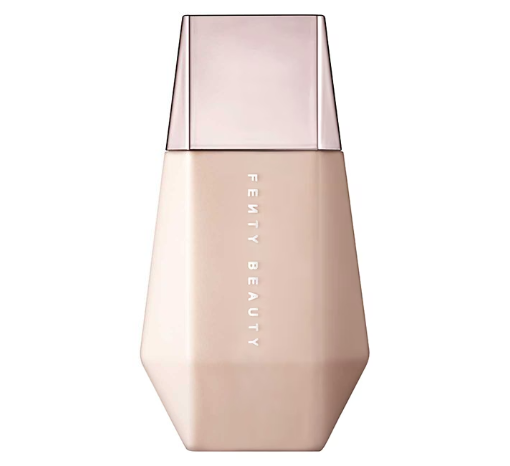
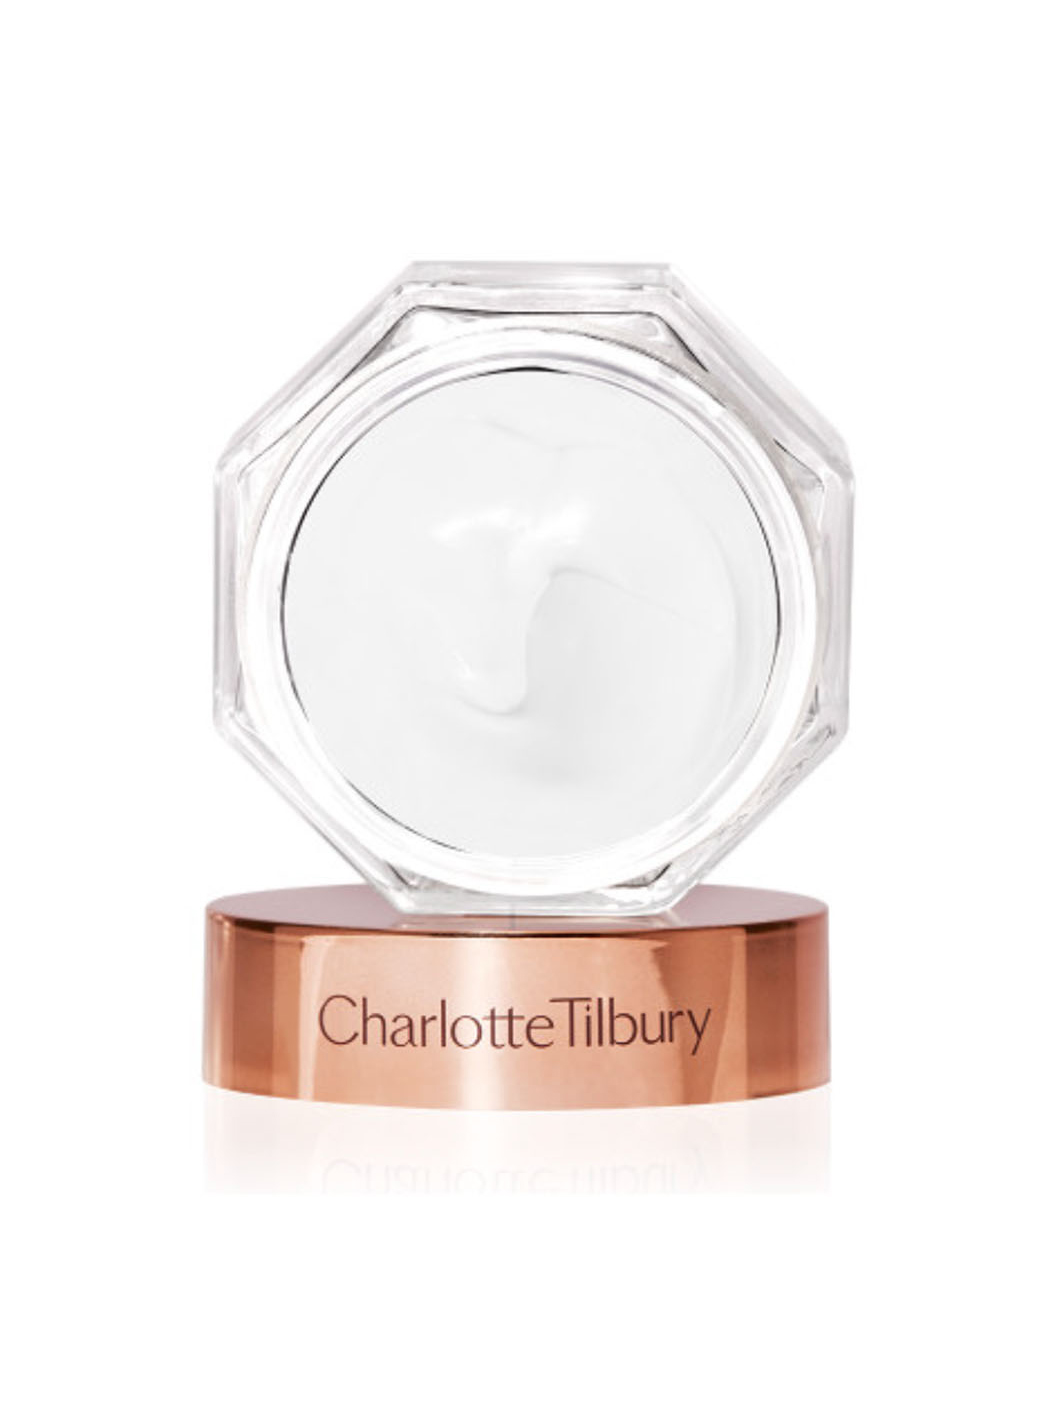
Step 2: Foundation
Finding the right foundation can be a trial-and-error process, but once you find your right undertone, shade, and formula, you can combine it with other products without worrying about how your face will turn out. For natural makeup, select lightweight formulas with water that will hide your imperfections but not cake your face. Buildable coverage is the best since you can control how much product you put on your face. Tinted moisturisers are also a great alternative to foundation, especially if you prefer the bare minimum coverage. They often have benefits like SPF to help keep your skin protected and will help to even out your skin tone whilst keeping the skin looking fresh and radiant.


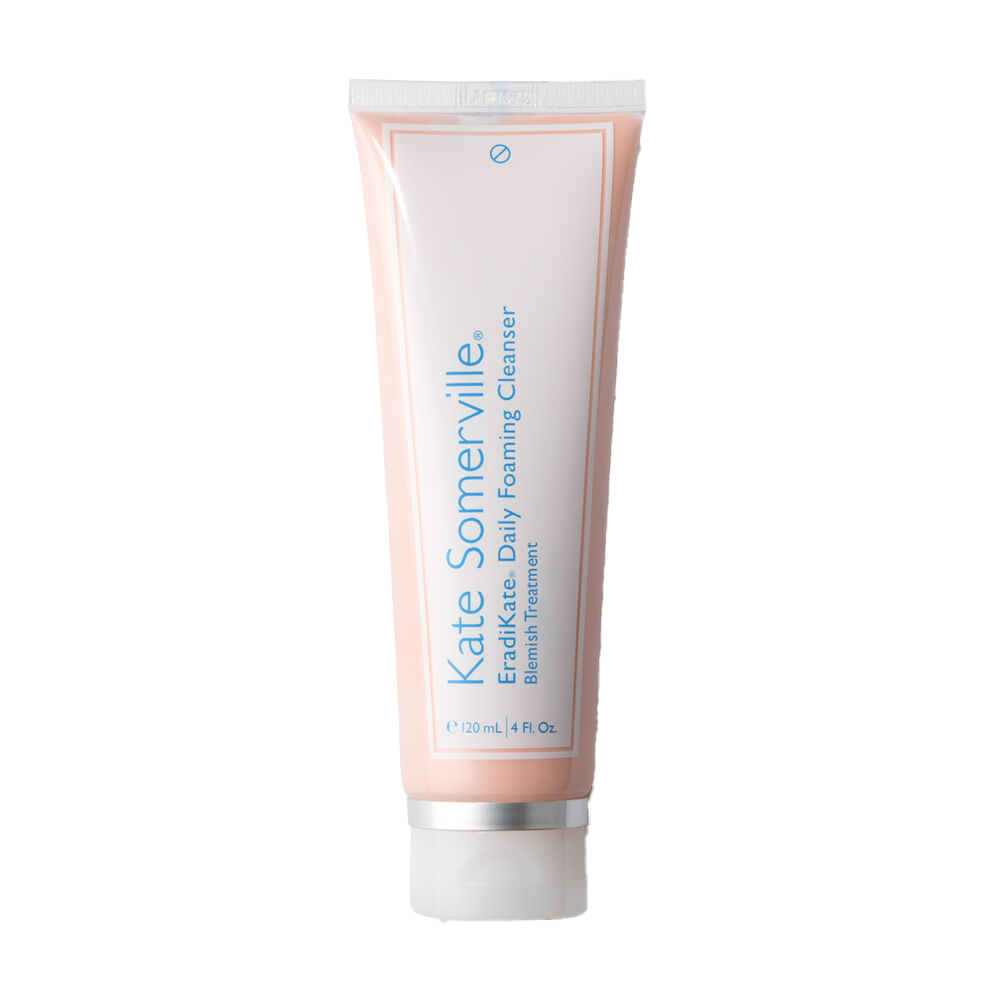
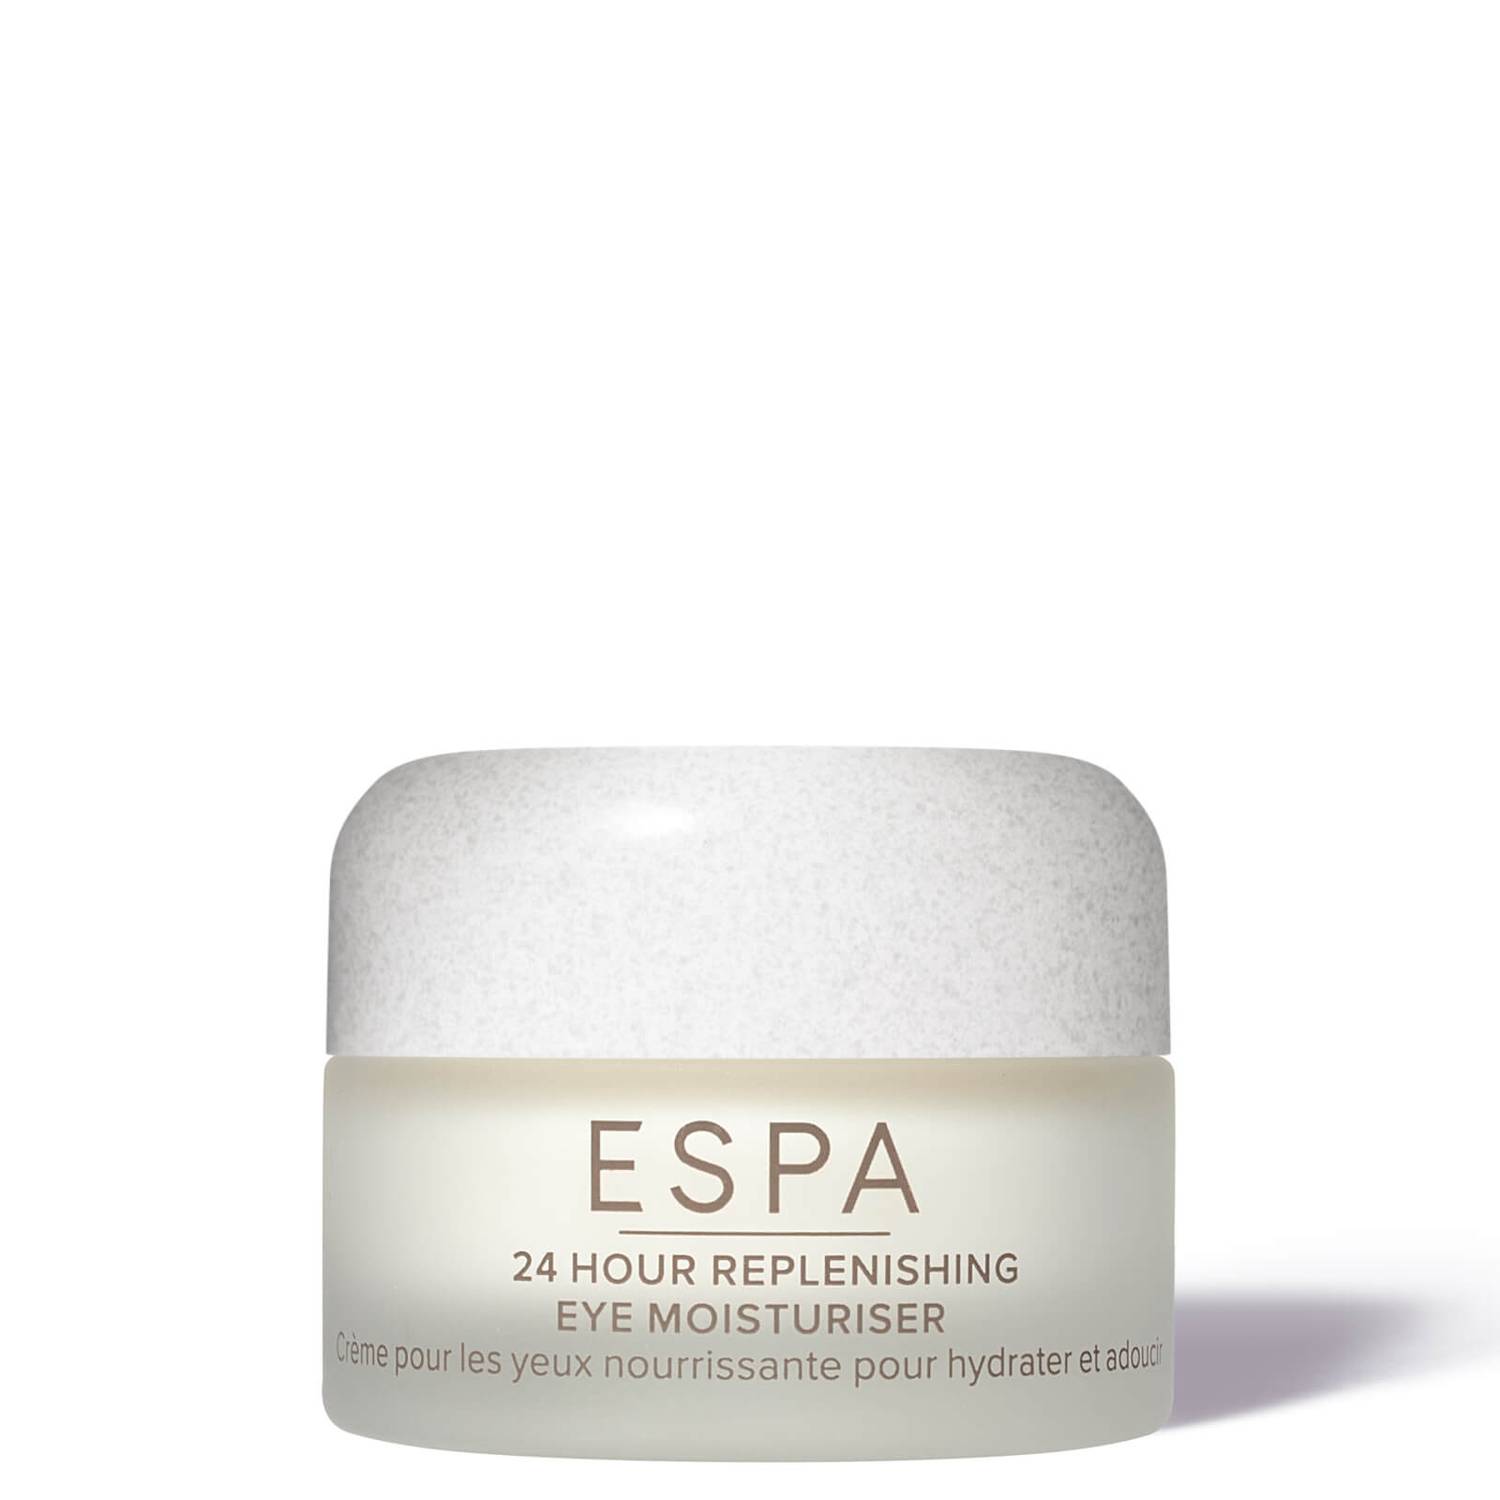
Step 3: Colour Correcting Concealer
With natural makeup, we are using much less product than we would with a full glam look, so it’s important to consider any products that we layer. Applying a colour correcting concealer directly to any blemishes or areas with hyper-pigmentation will help to balance out your overall skin tone. Common areas are the under eyes and around the mouth but everybody is different.
In order to correct or even out an area, use a regular concealer that is slightly deeper and warmer than your skin tone. This will help to counteract any discolouration which can sometimes be visible, especially when you apply a light coverage foundation.


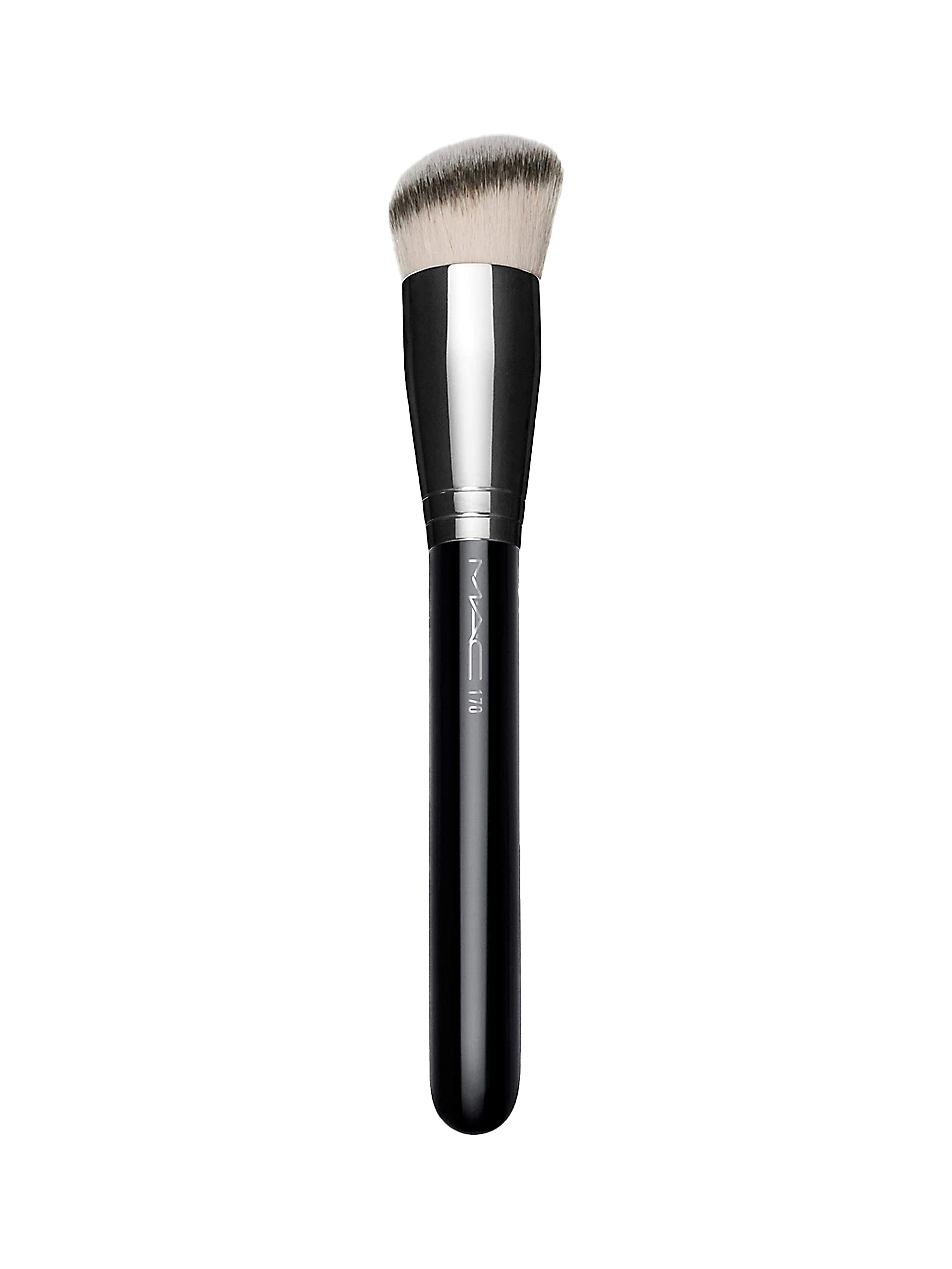
Step 4: Use a Damp Makeup Sponge
Apply your foundation or tinted moisturiser with a soft, damp makeup sponge as it will help to give you a flawless, even coverage whilst still providing you with a natural glow.mUse bouncy, patting motions to apply your base, and don’t forget your neck! Blending and patience is the key if you want to achieve a nice natural makeup look.
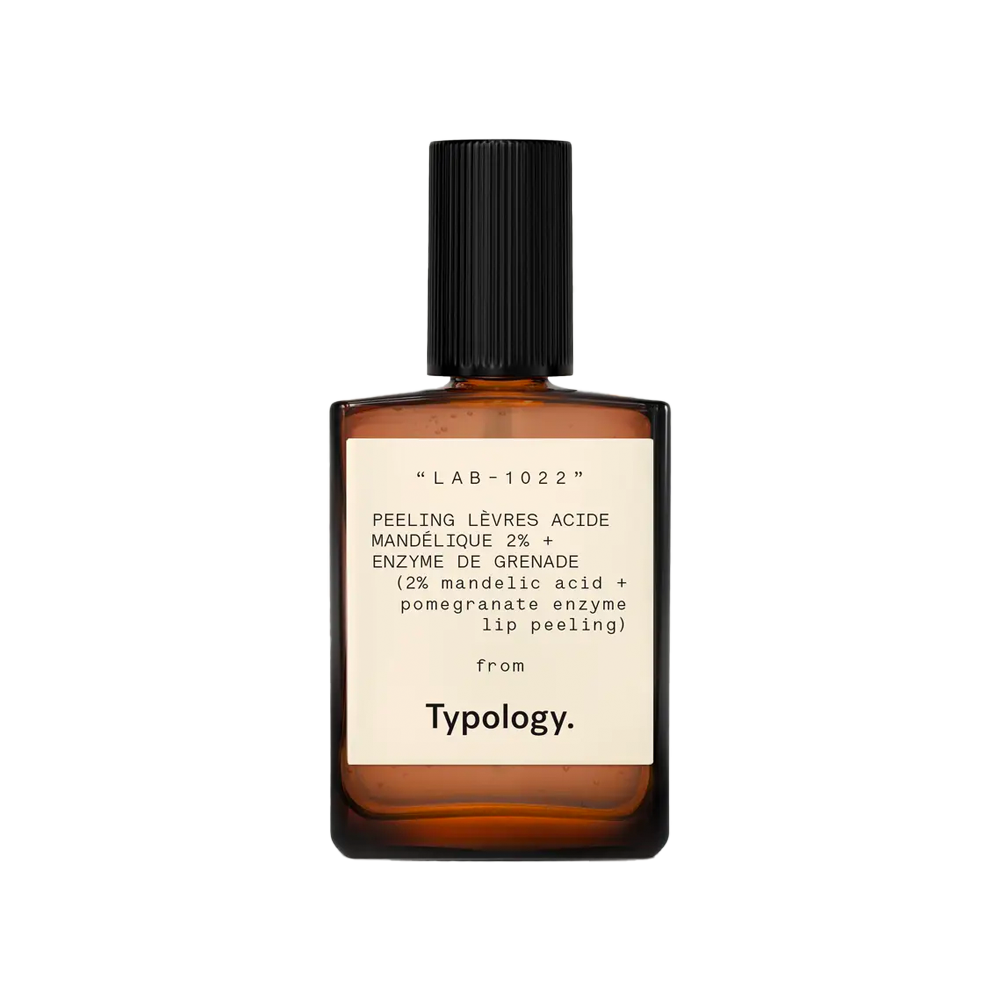
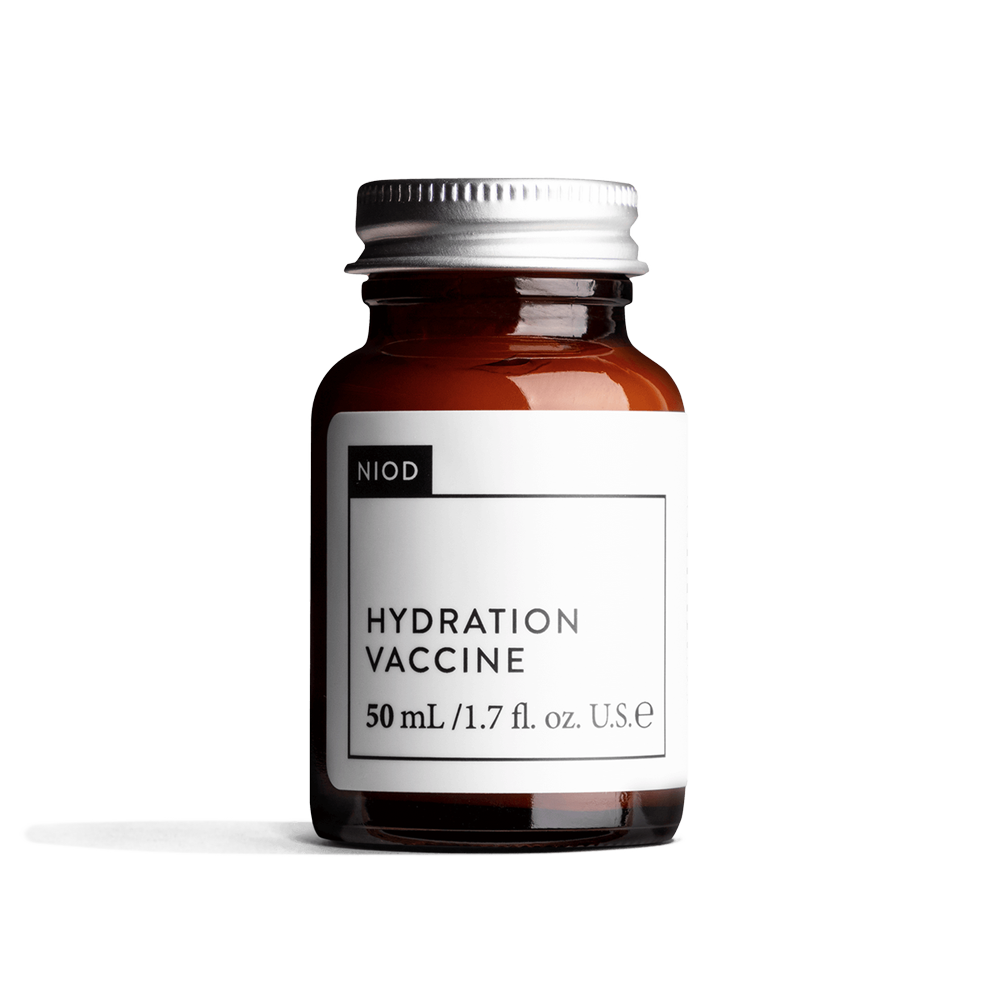
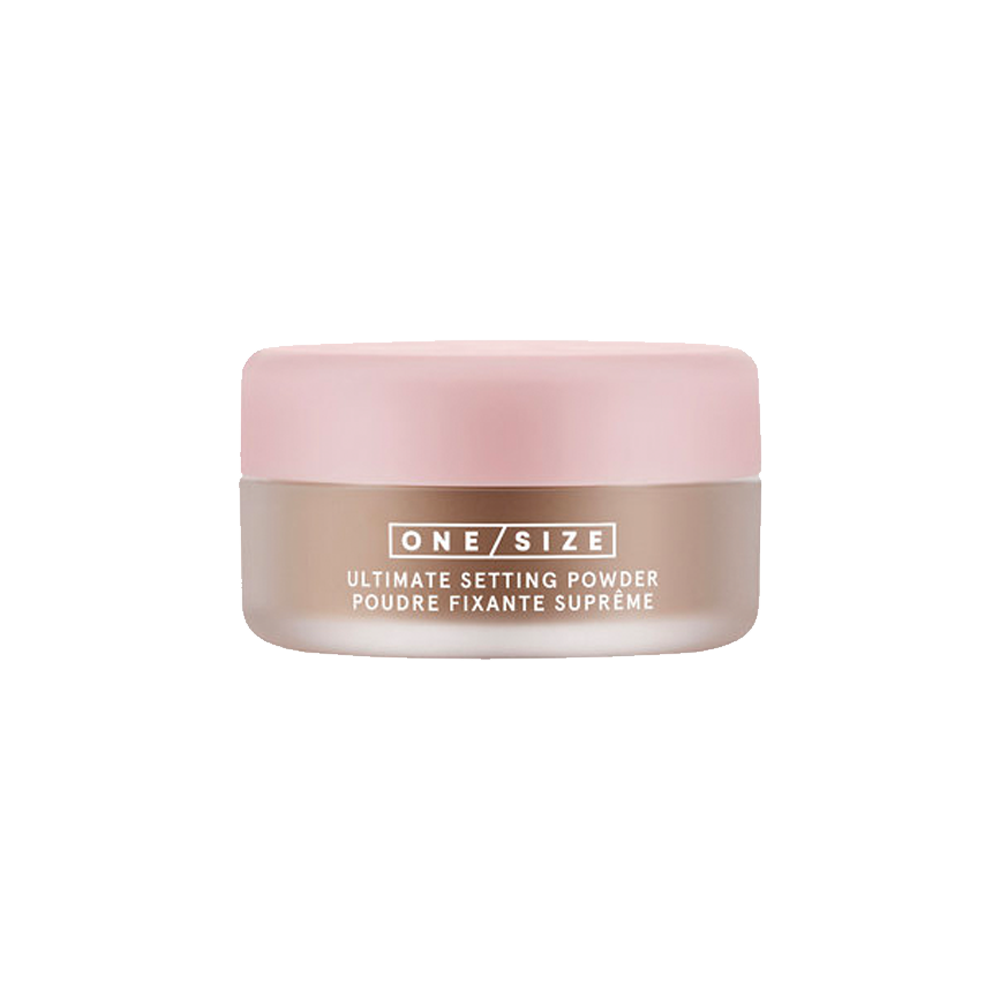
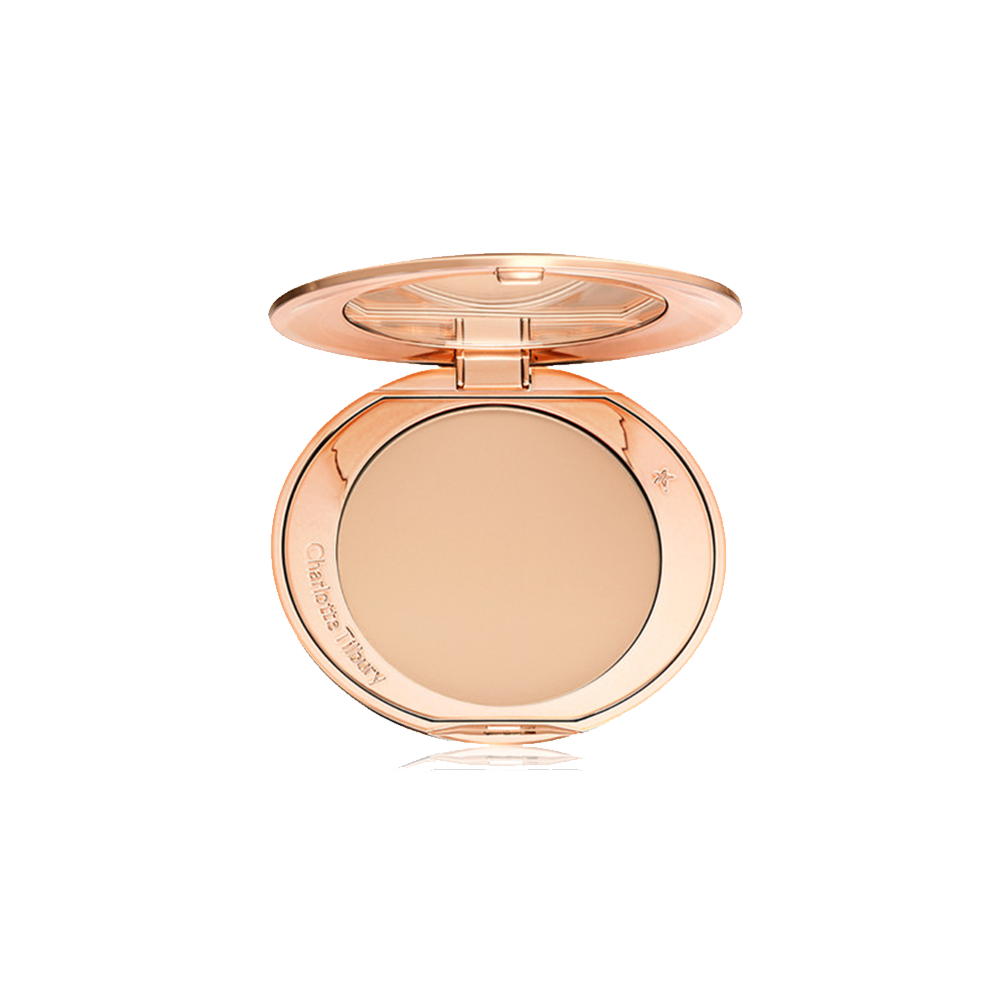
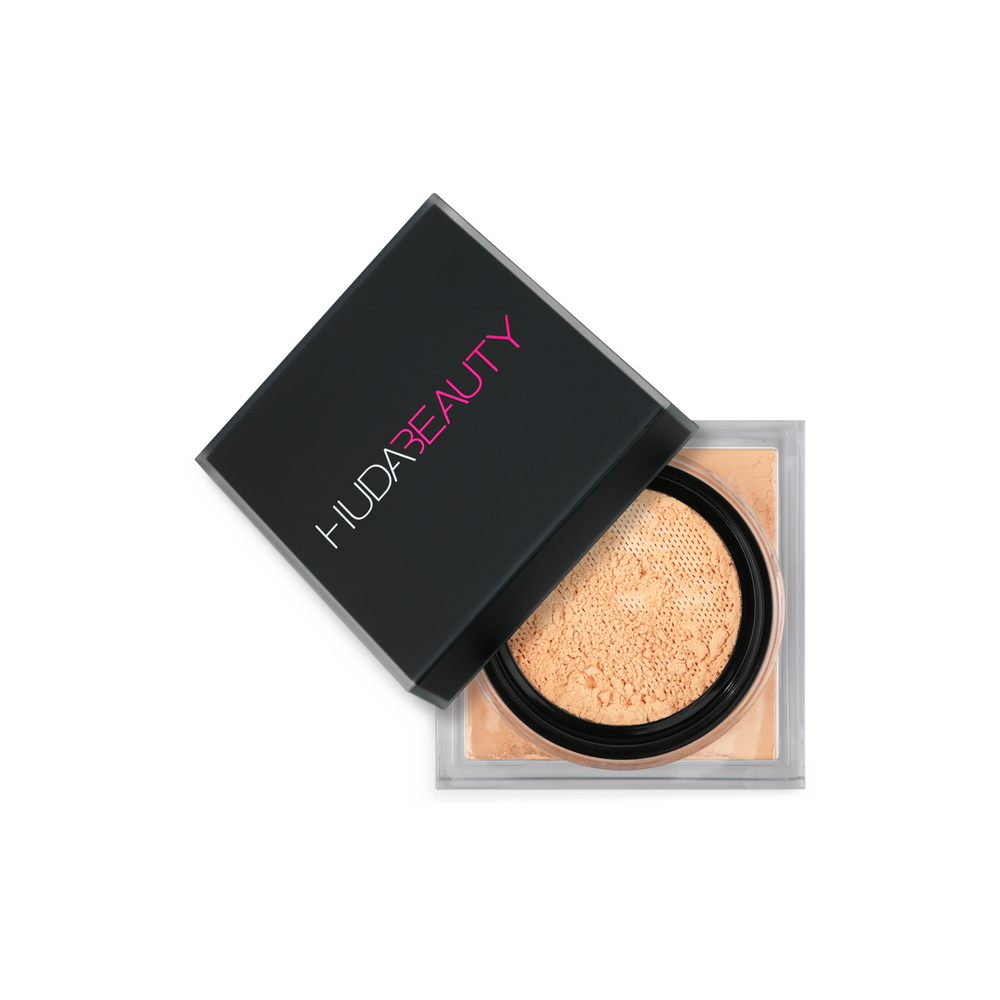
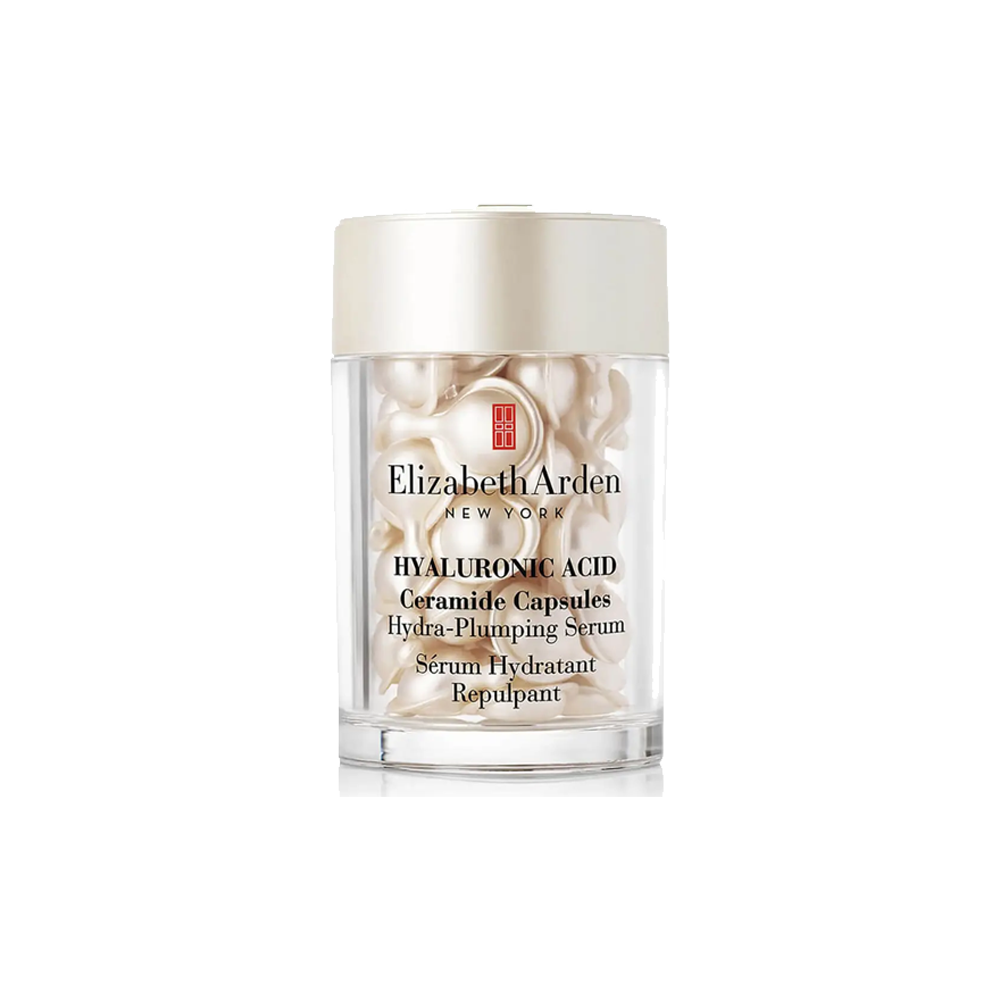
Step 5: Use Setting Powder
You really don’t need to apply setting powder all over your face, especially for a natural makeup look. Instead, try pressing it into your skin with a brush or even better with a makeup sponge, directly into the areas that require setting or become susceptible to shine throughout the day.
Shop Zakiyah’s recommendation:


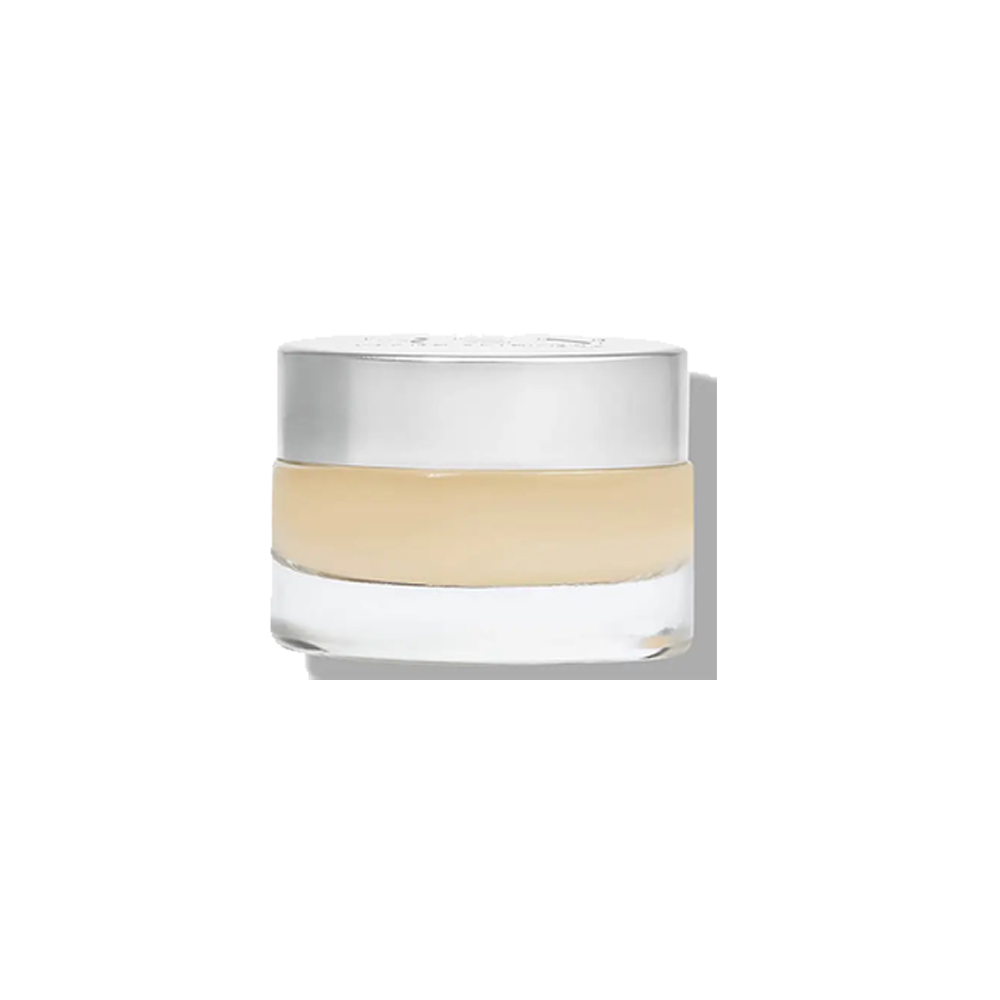
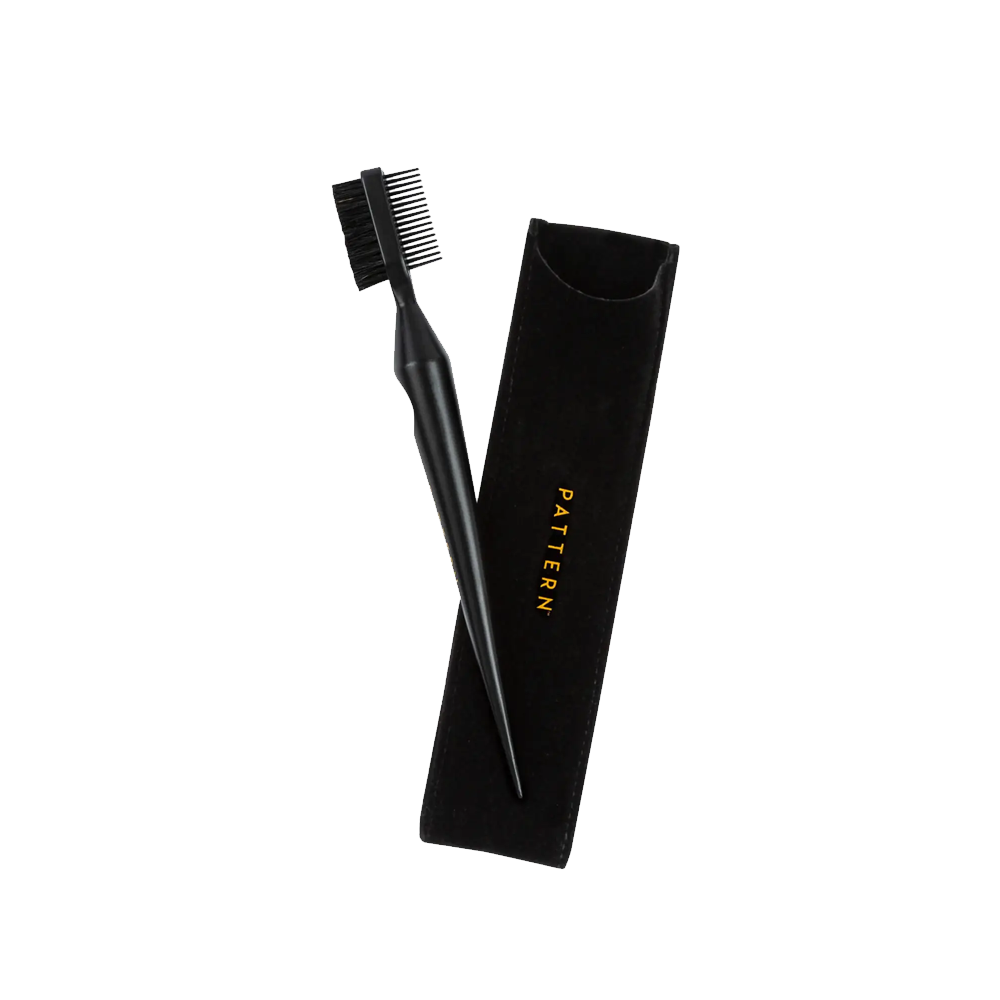
Step 6: Brows
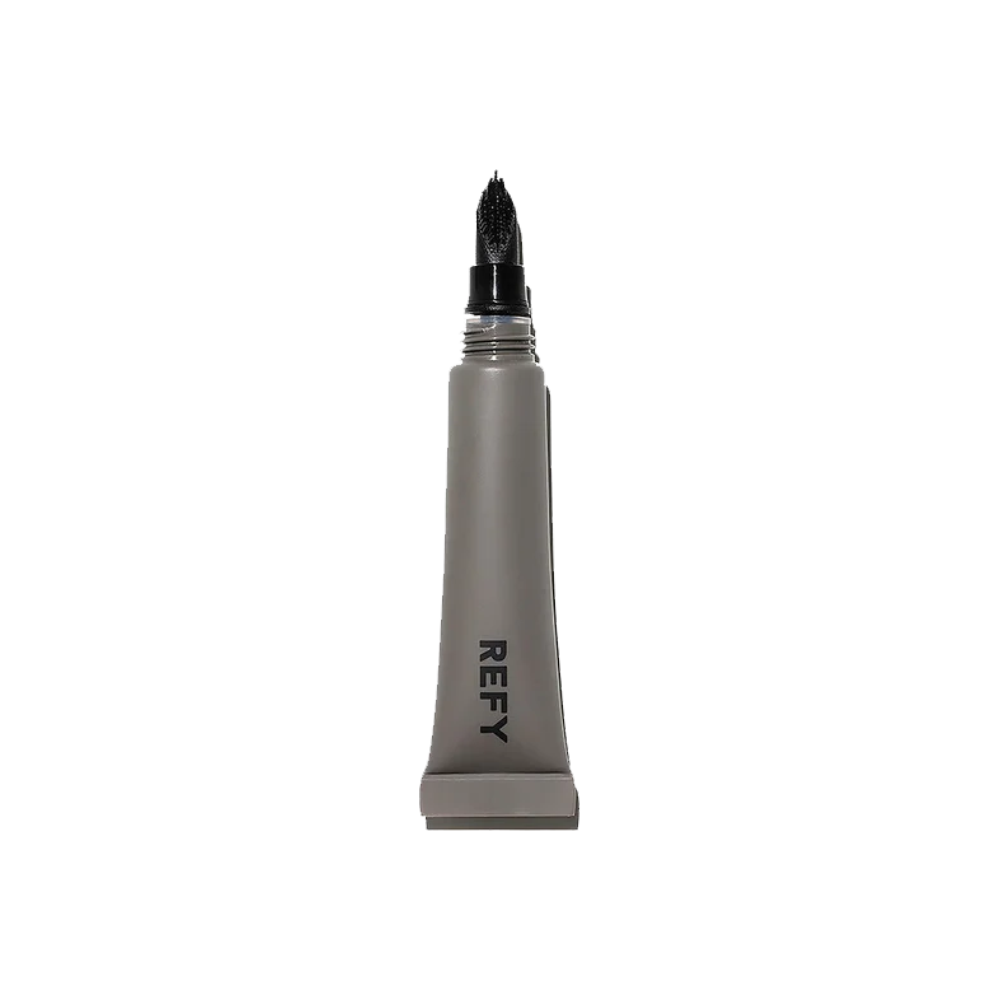
Fine brow pencils are great for replicating the appearance of brow hairs, especially where there are gaps or sparse areas. Use soft and defined strokes, following the natural direction of your brow to fill in the shape. If you prefer a fluffy brow or are looking for a product that will help to groom and keep your brow hairs in place, a brow gel is the product for you! If you are blessed enough to have naturally full brows, you may only need to use a brow gel to keep them in place. Brow gels can be tinted or have no colour, depending on your desired look.
Side note: Keeping a clean spoolie (brow brush) on hand is great for brow application, as it can be used to soften harsh lines, tame brow hairs or shape them.
Shop Zakiyah’s recommendation:


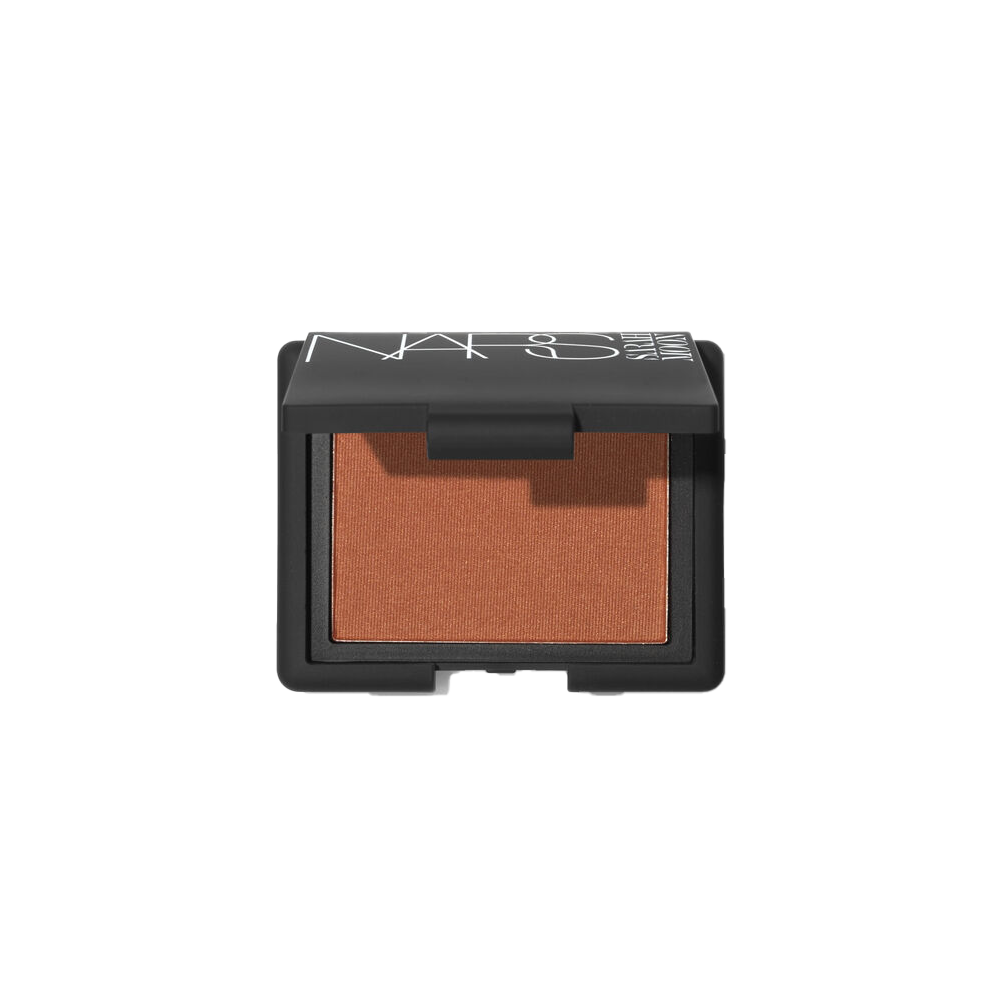
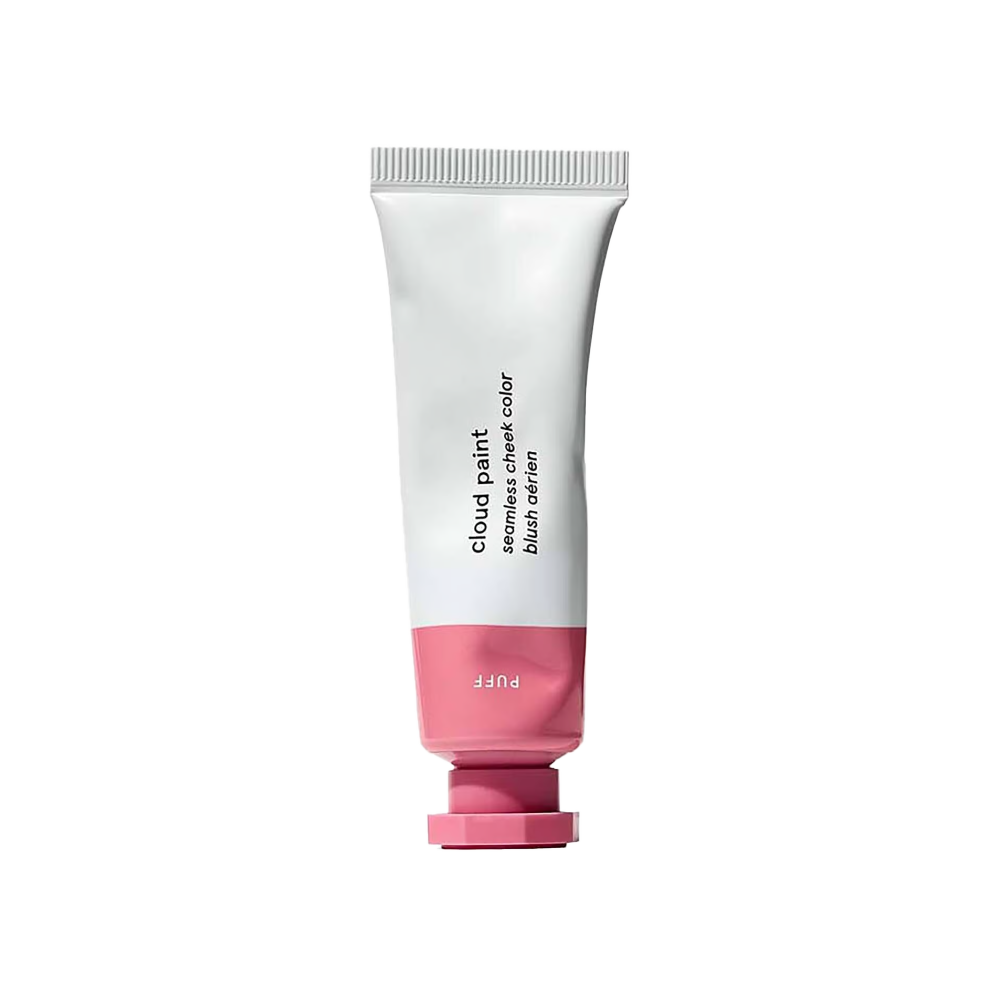
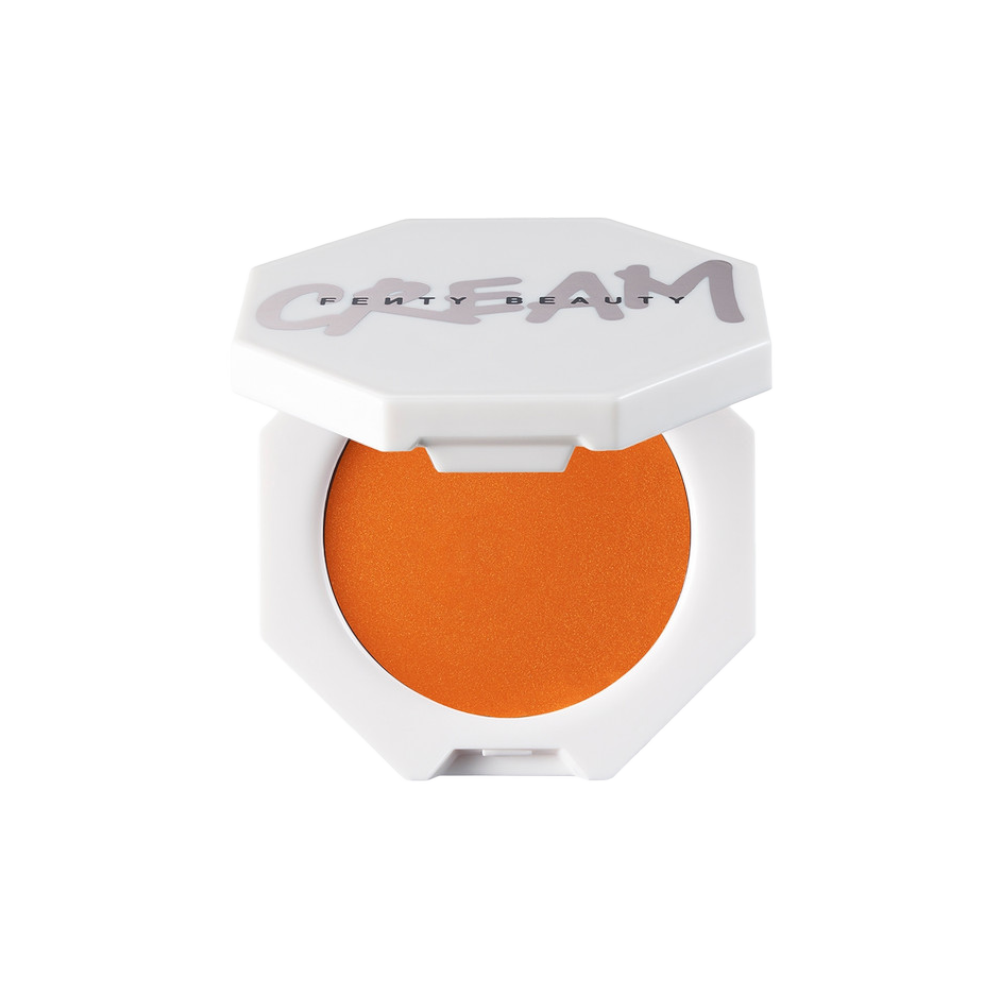
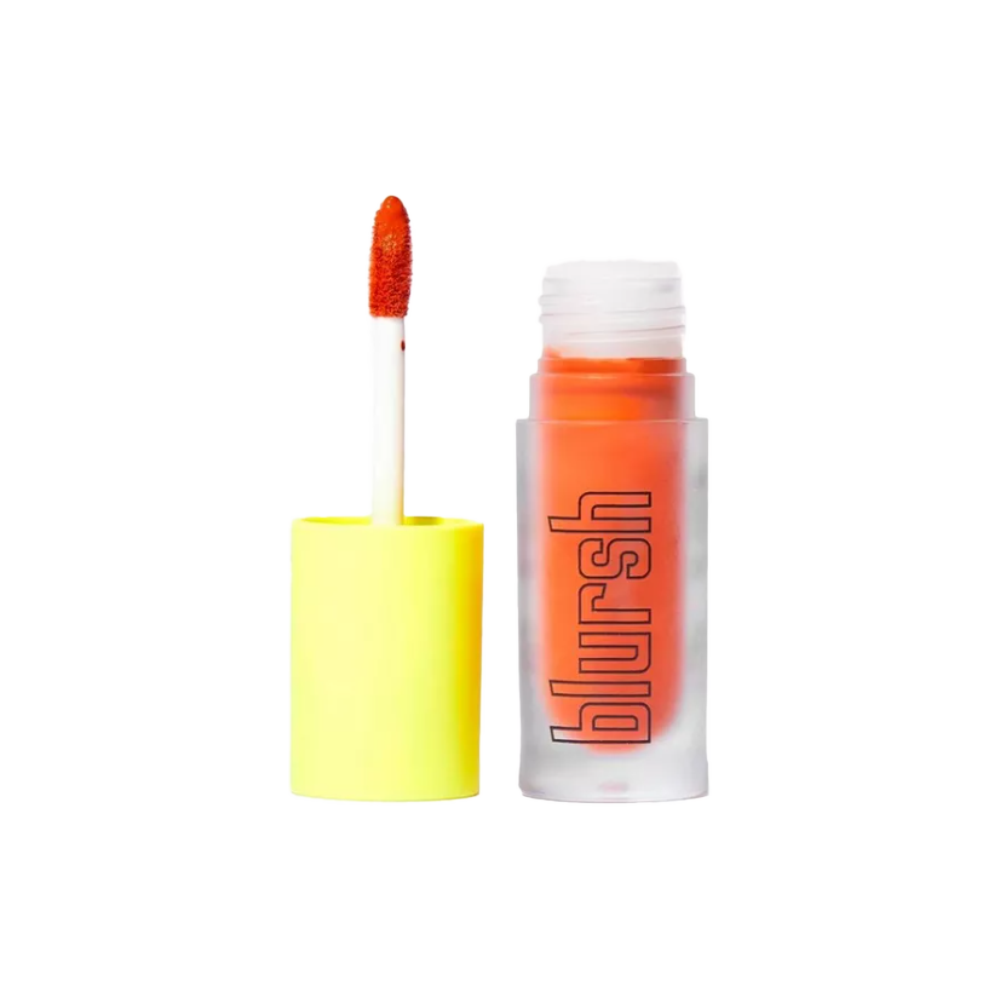
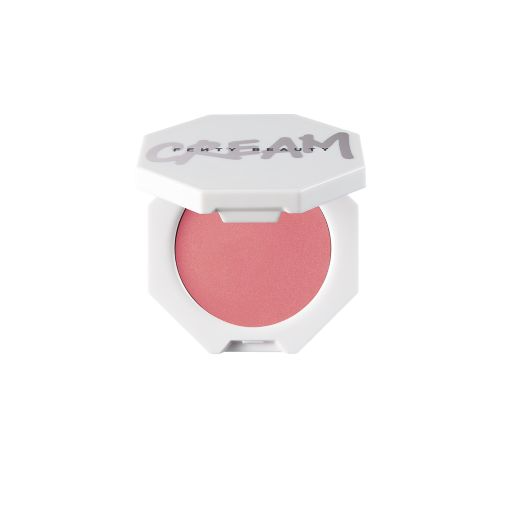
Step 7: Apply Bronzer and/or Blush
Bronzer and blush can be used not only on your cheeks but on your eyes as well. They are such great products that are both multipurpose and really make a difference to the appearance of your makeup. I love using bronzers or blush to subtly add colour and depth back into the skin.


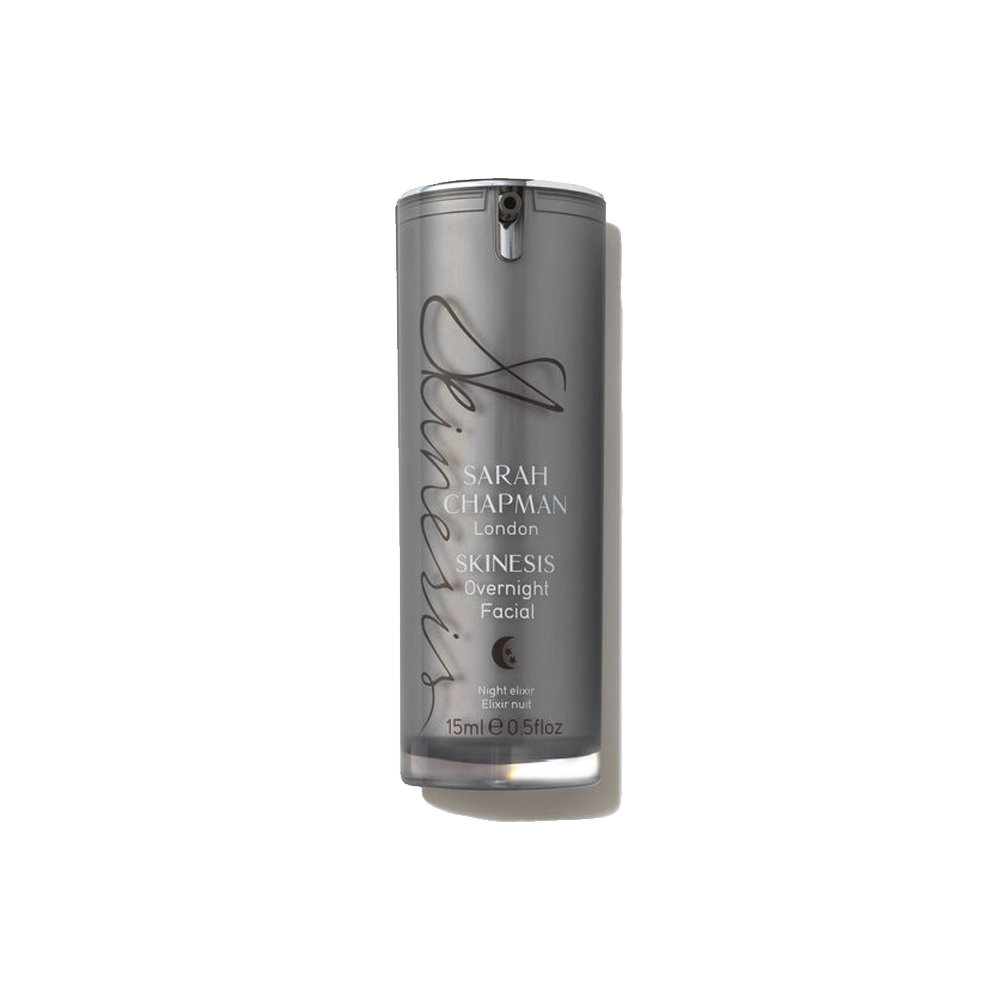
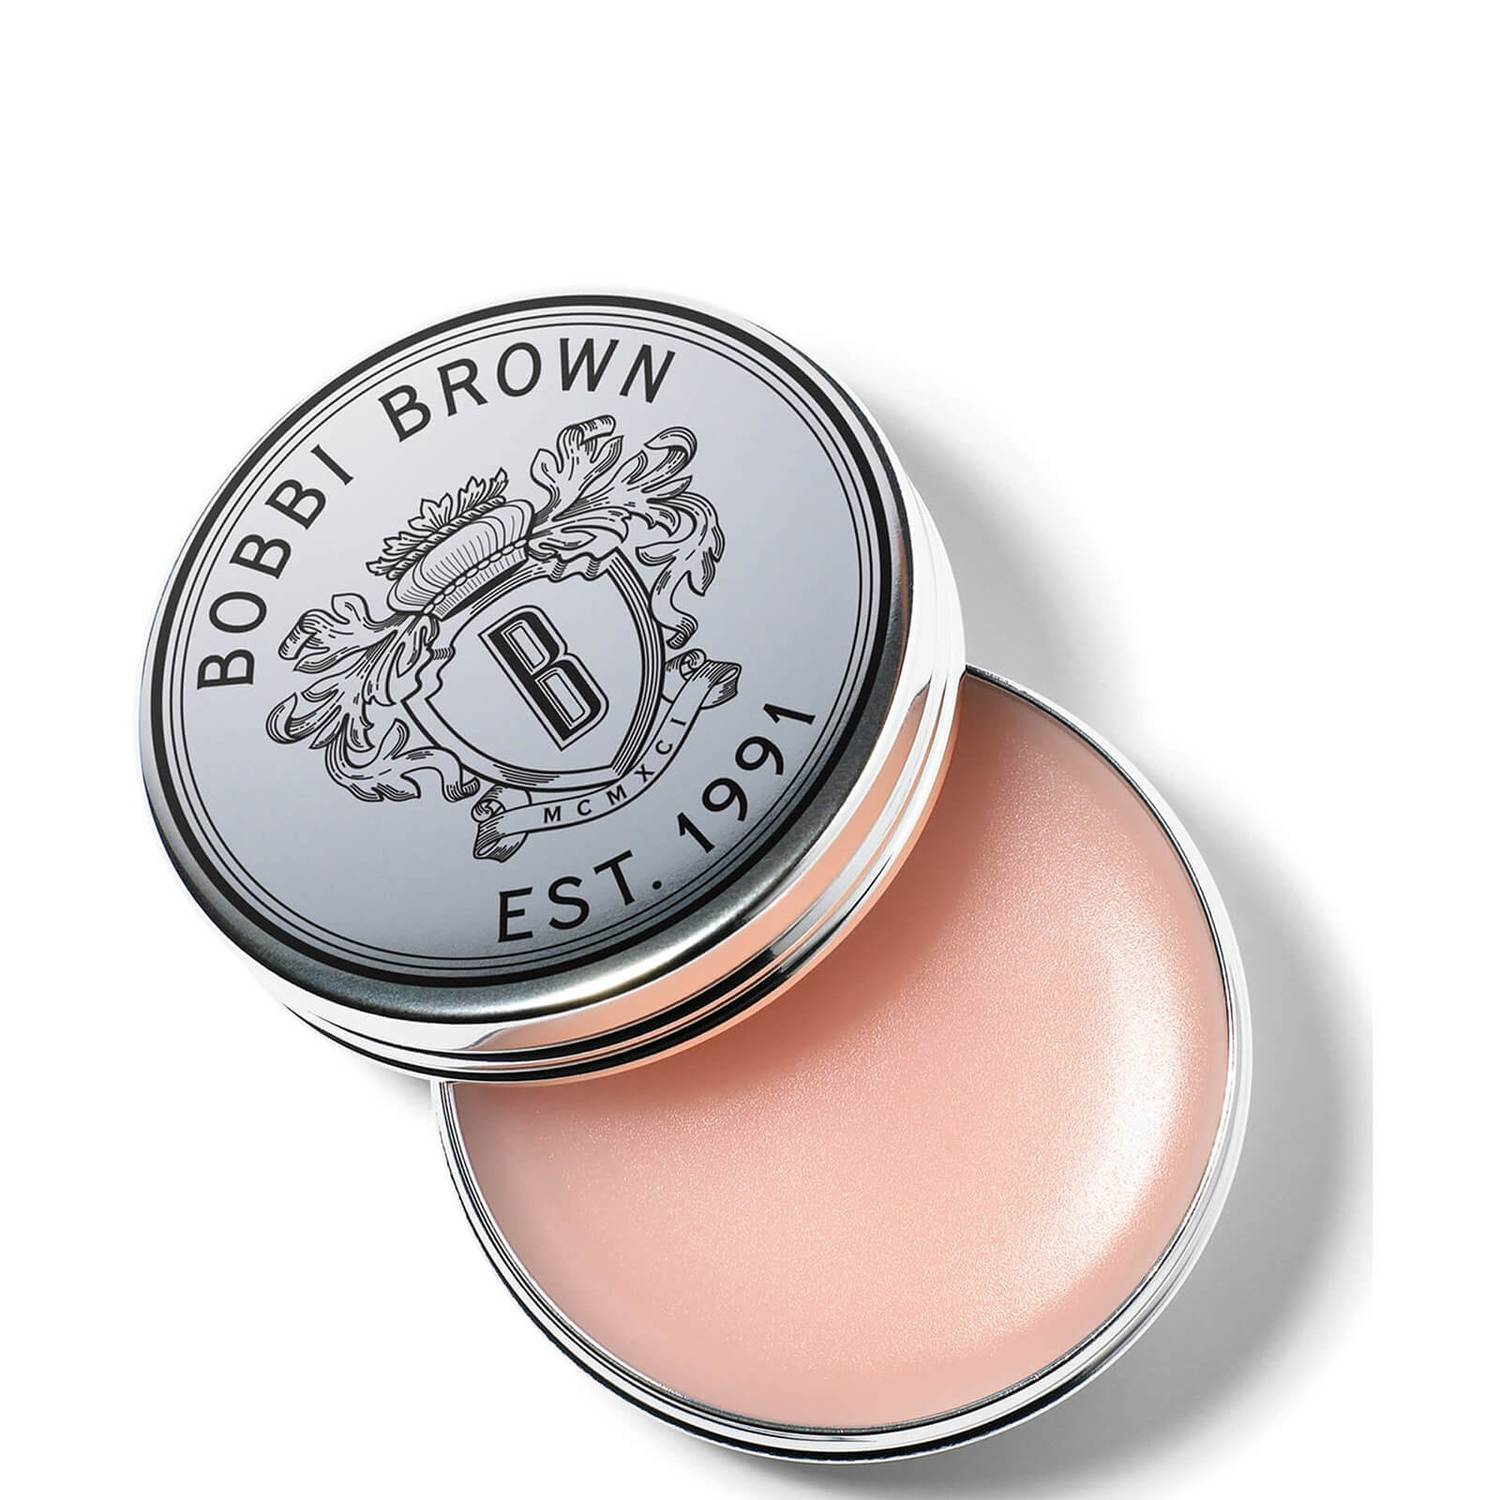
Step 8: Use a Creamy Highlighter
Highlighter is the perfect makeup product to use for a natural look. Creamy ones are great for buildable effect, while powder highlighters require a bit more skill. Highlighters are there to replicate the appearance of natural light hitting the high points of your face. Generally, light tends to create a cooler more silvery glow on the skin so I prefer using an array of highlighters with silver undertones for a natural look. You can apply it on your cheekbones, on the tip and bridge of your nose, and upper lip.
If you prefer a sun-kissed glow, opt for highlighters that have gold or bronze undertones.
Step 9: Neutral Lipstick and/or Lipliner
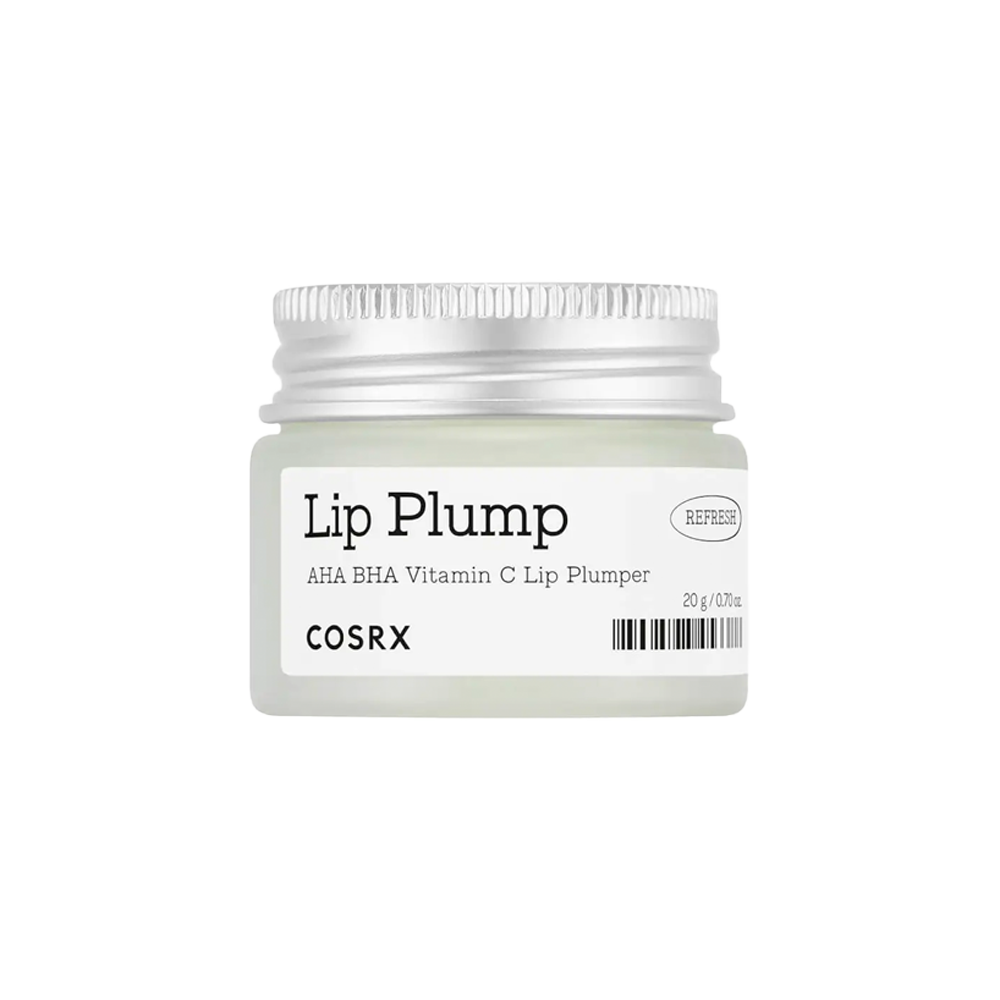
Nude colours are a great choice for natural makeup looks and suitable for everyone with such a large spectrum of shades now available. Nude lip colours with brown, orange/peach or pink undertones round off natural makeup looks perfectly. If you want a formula that is long-lasting and won’t budge, matte lipsticks are a better option. If like me, you prefer to add a bit of glow you can finish off your lips with a lip gloss.
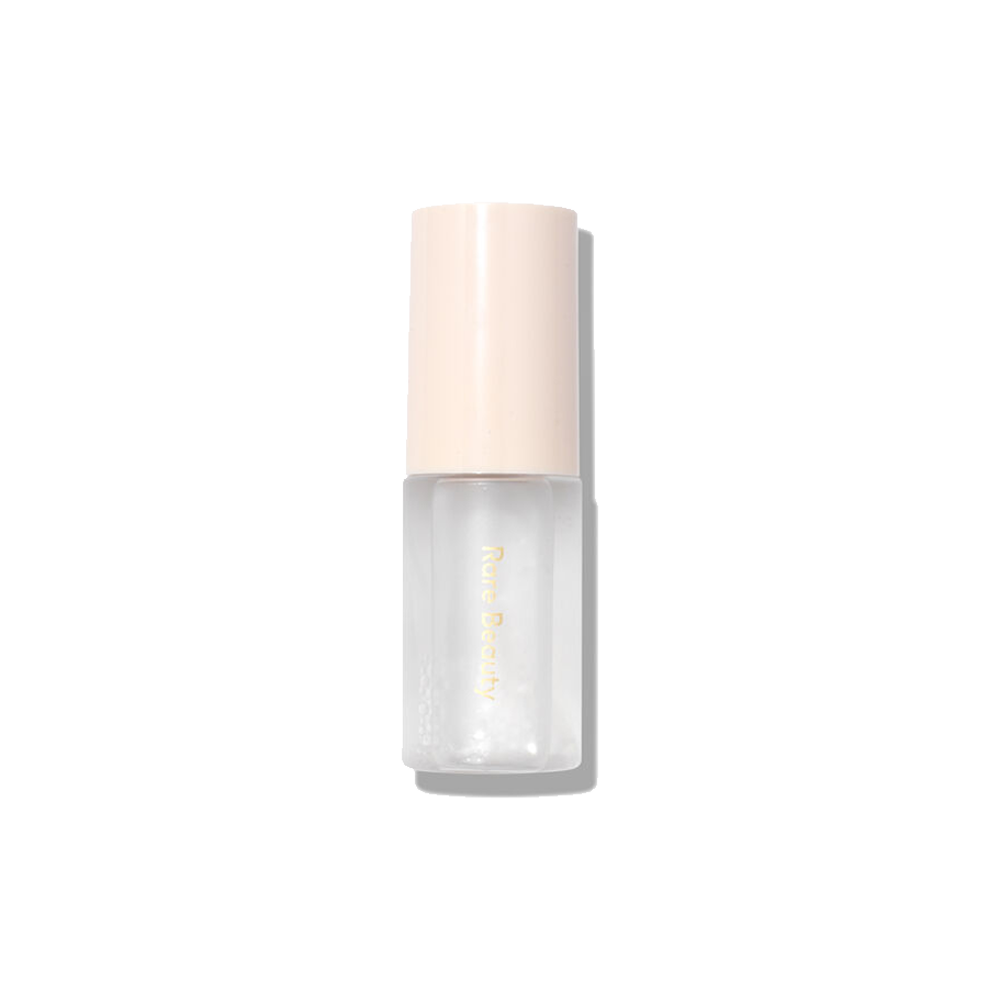
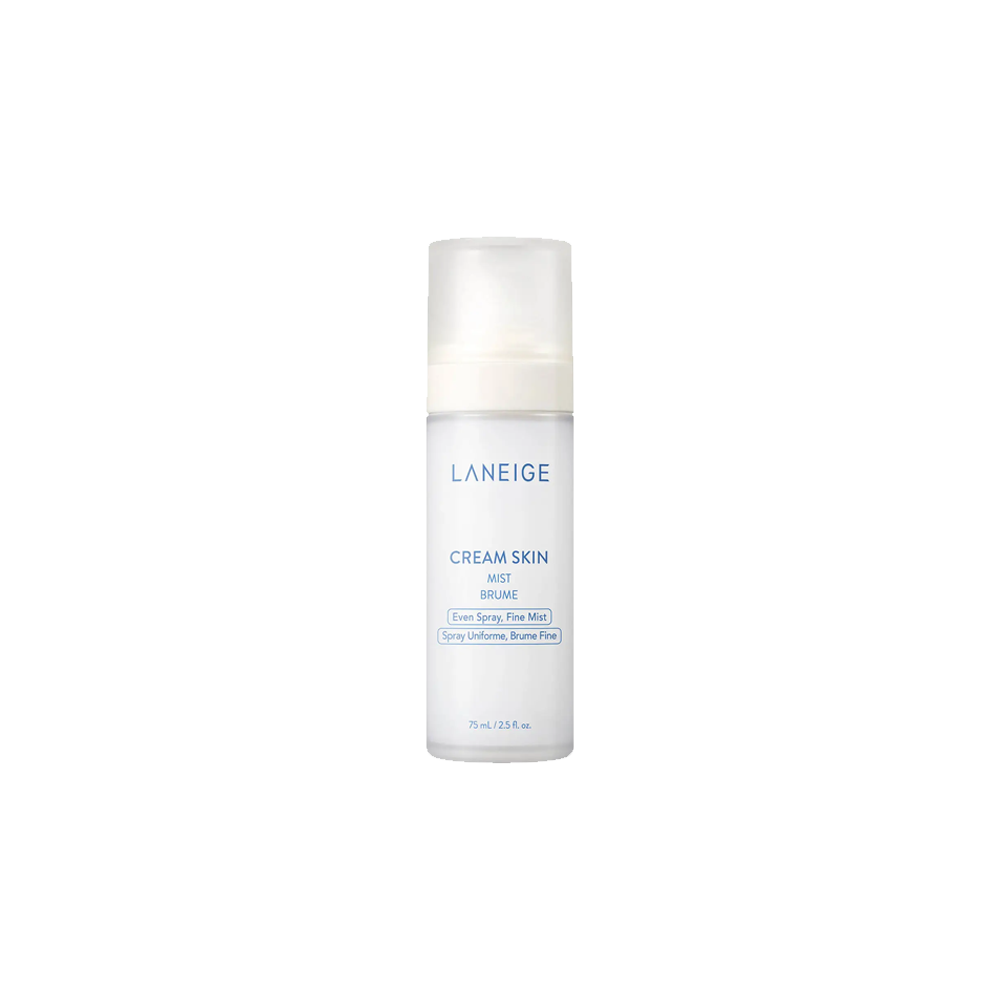
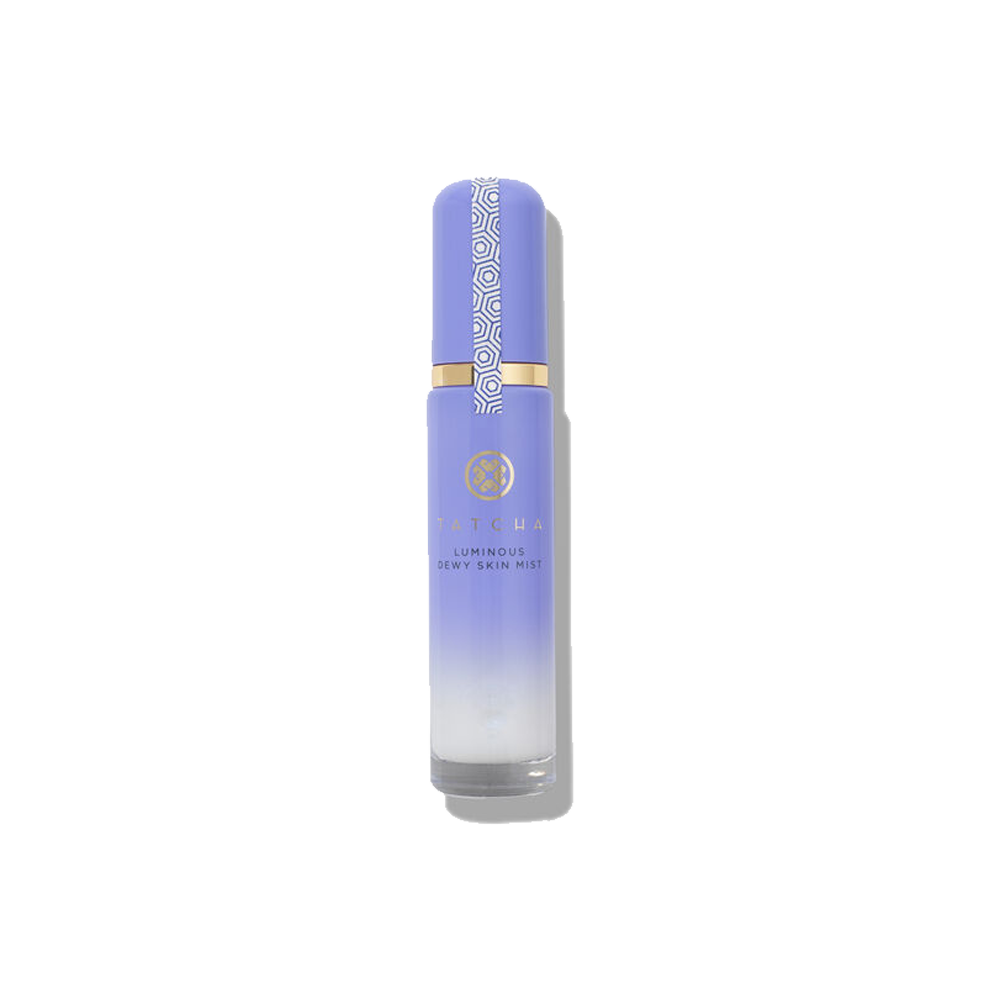
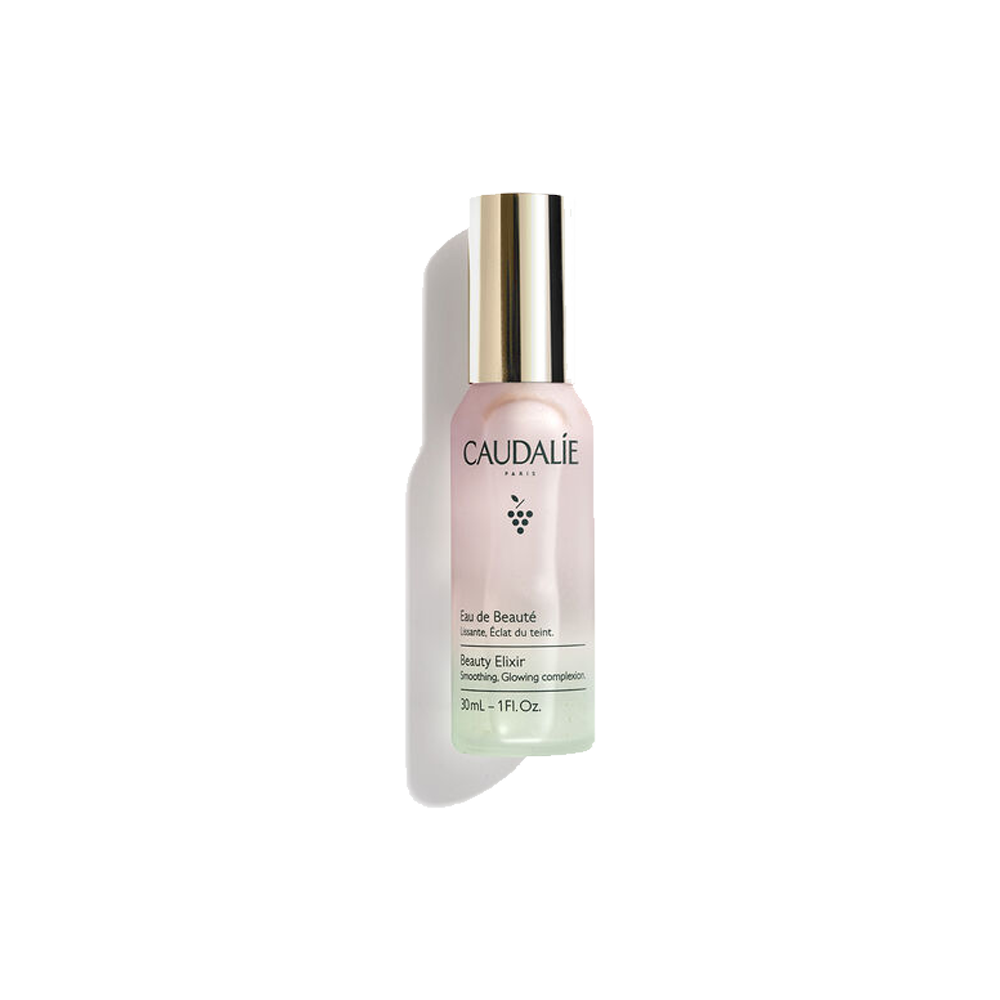
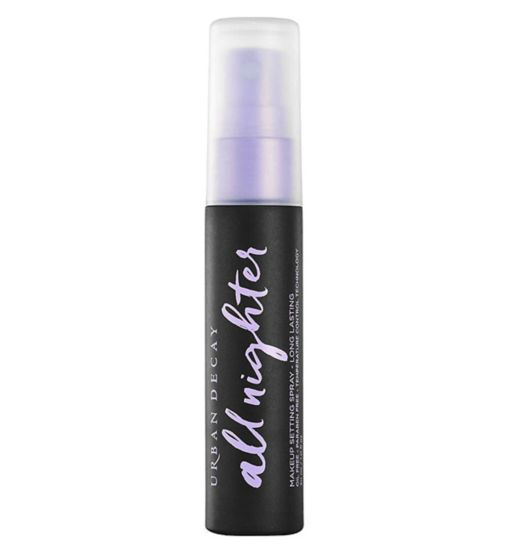
Step 10: Setting Spray
Finally, always finish your look with setting spray to keep the skin looking refreshed and to boost the longevity of your makeup.


Please note that everyone’s needs and preferences are different, so feel free to miss out on any steps according to what works best for you. Have fun with it!